
How One Song Sparked a Stunning AI Commercial: Turning Runaways Into an iPhone Story”
Runaways iPhone AI Commercials: The Song That Started It All 🎵
Every now and then, a song finds you before the idea does. You hear a few chords, a lyric sticks, and suddenly it starts to feel like something you can see, something cinematic.
I had been wanting to make an iPhone commercial for a while, something that captured the freedom, movement, and emotion of growing up in a hyperconnected timeline.
But instead of creating how I’m use to creating back in the days, I decided to document how this idea could come together using only AI tools like ChatGPT and Higgsfield’s new storyboarding system, Higgsfield Popcorn.
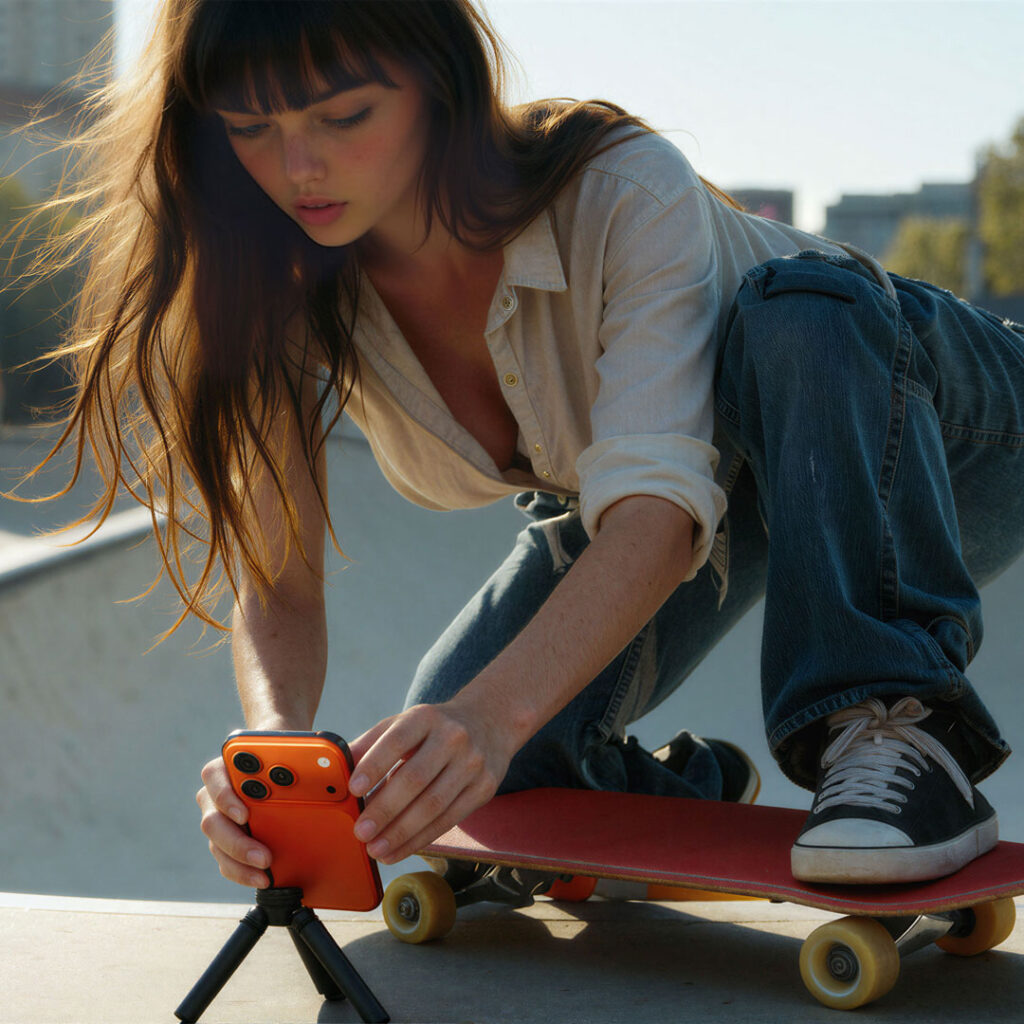
“Ideas used to live on sticky notes. Now, they live in systems that think with you.”
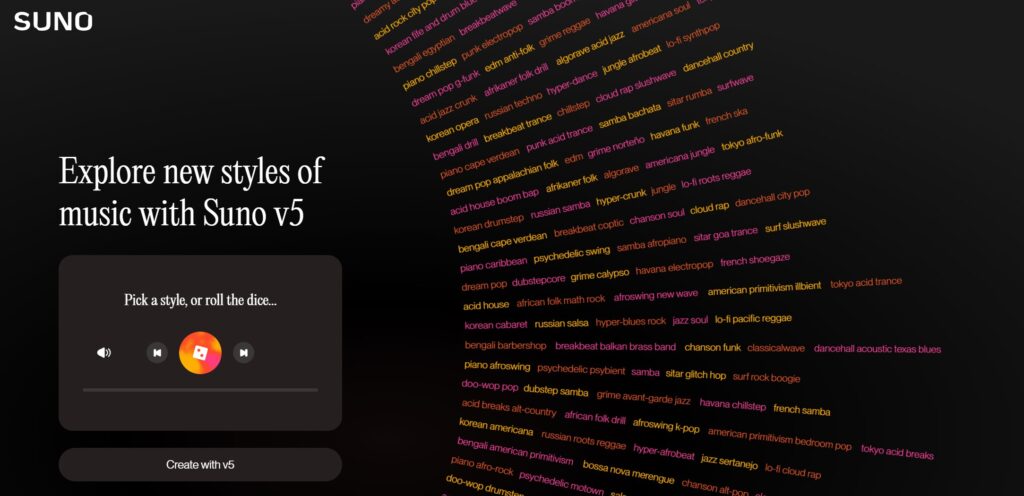
Using Suno to Avoid Copyright Issues
Before we go any further, let’s talk about something important. Music rights.
When I first started this project, I used the original Runaways song because it perfectly matched the emotion and pacing I had in mind. It was what inspired the entire concept, so it felt right to build around it.
The problem? Once the video was done, I realized I couldn’t actually use the original track if I wanted to share it publicly or enter it into competitions, that’s copyright infringement territory.
To fix that, I turned to Suno to create a custom cover version. I slightly changed the beat and reworked a few lyrics to make it unique while keeping the overall tone and mood intact.
It’s not an exact match, the rhythm doesn’t line up perfectly with the video anymore, but it’s close enough to preserve the feeling that started it all.
If you plan to submit your work anywhere, always make sure your audio is cleared or re-created. You can cover a song, remix it, or change key elements enough to make it original. In my case, I took the risk initially because this project wasn’t for profit, it was about inspiration and experimentation.
Still, it’s a good reminder: inspiration is fine, but ownership matters.
How It Started Coming Together using ChatGPT
It’s a starting point, a rough idea that plants the seed.
Sometimes, that’s all you need to start building. From here, you break it down, scene by scene, and find the rhythm.
Of course, with only four scenes, you’re not seeing every shot yet, but that’s where the creative part comes in. You start filling in the spaces, finding the cuts, and building the emotion one frame at a time.
iPhone 17 Commercial Title: Hold Strong 🎬
It started with an idea while I was on a walk. I had four rough ideas forming, so I pulled out my phone before they slipped away and asked ChatGPT to help me build on them. It gave me a quick outline, just enough to capture what I was thinking before it disappeared.
When I got home, I looked through the notes and started piecing things together. It wasn’t finished, but it gave me direction.
Back in the day, I used to rely on sticky notes for this kind of thing. My truck dashboard was covered in them and looked like a serial killer’s car. Now it’s simpler. The ideas stay in one place, easy to expand on later.
Anchor Frames: Narrative Flow Summary
| Scene | Action | Emotion | Product Tie-in |
|---|---|---|---|
| 1 | Morning light on her face | Calm connection | Introduces device emotionally |
| 2 | Two worlds, same moment | Unity | Connection through iPhone |
| 3 | Drop mid-trick | Excitement, resilience | Durability proof |
| 4 | Product lineup | Pride, closure | Design & reliability |
With only four core scenes, it’s still rough, but it gives you a starting point to develop from. The creative part happens between the gaps: finding the shots, controlling the emotion, and connecting one frame to the next.
To work on this, I built out the first four scenes using one main image each, what is referred to as hero frame (or anchor frame).
These images becomes the anchor for everything that follows, it defines the lighting, color palette, and emotional tone of the sequence. Once that foundation is set, you can return to each scene, break it down into a full shot list, and start shaping the storyboard.
Not every frame I generate ends up in the final cut, many are simply stepping stones. They’re visual brainstorms, fragments of thought that help me refine the core idea. From there, I build around the four main hero shots, using AI-generated frames before and after them to explore transitions and pacing.
Think of these hero shots like keyframes in animation, the strong visual moments that guide everything in between.
Scene 1: The Wake-Up Shot (0:00–0:12)
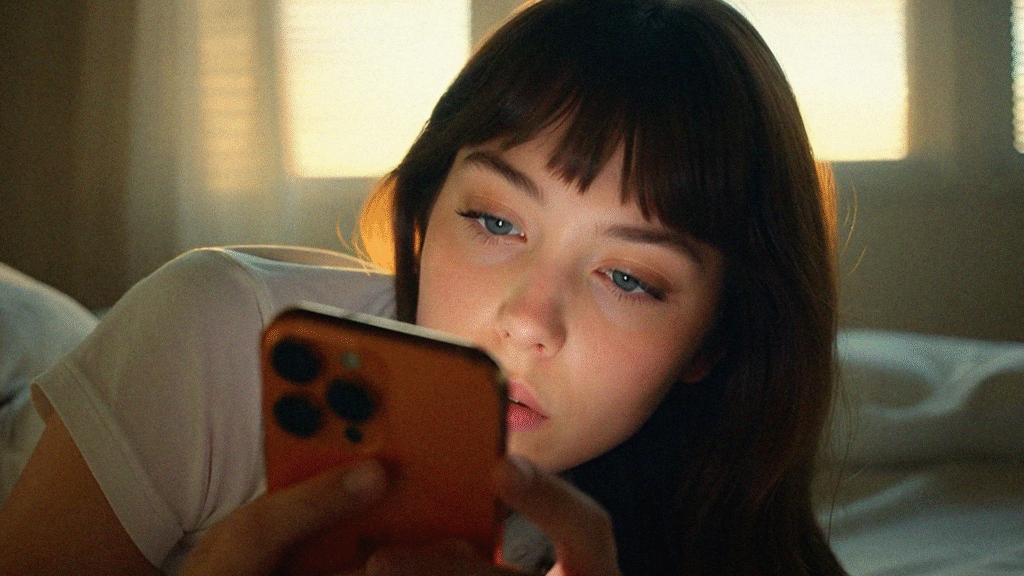
Image Reference: The girl lying on her bed holding the orange iPhone.
Prompt:
cinematic close-up of a young woman lying on her bed in soft golden morning light, holding an orange iPhone in both hands as the screen reflects gently on her face. natural sunlight leaks through blinds, creating warm contrast between glow and shadow. she wears a simple white t-shirt, her expression calm and curious, Apple-commercial lighting, shallow depth of field, soft focus background.
Purpose:
Introduces emotional connection, the phone as a quiet companion.
Scene 2: The Connection Moment (0:12–0:49)
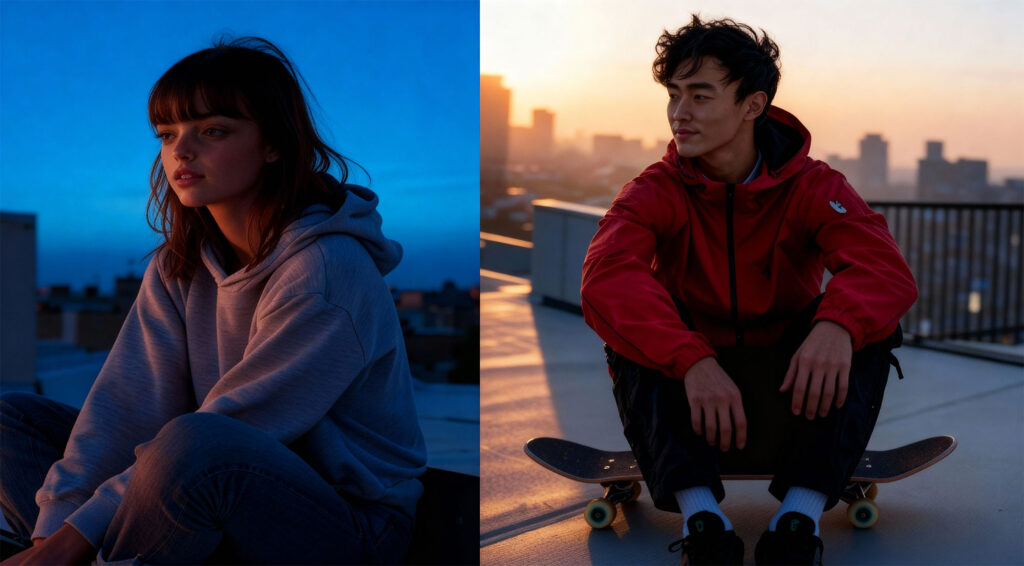
Hero Frame 2: The Connection Moment
Image Reference: Split shot of girl and boy on rooftop, both holding iPhones.
Prompt:
two cinematic portraits side by side, showing a young woman on a twilight rooftop in a gray hoodie and jeans holding an orange iPhone, and a young man in a red jacket and black jeans sitting on a rooftop at sunrise holding a white iPhone. both are smiling faintly, lit by city lights and soft dawn glow. emotional tone of connection across distance, Apple commercial style, film grain, shallow depth of field.
Purpose:
Shows emotional link, different worlds, same moment.
Scene 3: The Drop & Durability Moment (0:49–1:02)

Image Reference: The skateboarder mid-air holding the iPhone.
Note:
At this point, the product isn’t actually falling yet, this image is just the setup. I wanted the moment to feel natural, not staged, so I used this as the key frame before the drop. During animation, the phone slips mid-air, catching light as it spins, emphasizing realism over choreography.
Prompt:
cinematic slow-motion shot of a young Korean man performing a skateboard trick mid-air while holding an iPhone; camera tracks his motion against a crisp blue sky, sunlight reflecting on the phone’s surface. as the video transitions, the phone slips from his hand, rotating and glinting in slow motion before falling out of frame. tone conveys energy, freedom, and resilience, with an Apple-commercial cinematic polish.
Purpose:
This moment connects emotion with durability. The fall doesn’t feel like an accident, it feels earned. A natural part of motion, showing confidence in the product’s strength.
Scene 4: The Product Reveal (1:02–1:24)
For this final scene, I didn’t need to generate anything new. I used an existing Apple reference shot, the official product image that already carried the look, lighting, and tone I wanted. Instead of reinventing it, I built around it.
The composition already said everything it needed to: strength, precision, and design. My goal was to let it feel like the natural conclusion to everything before it. All the energy, the motion, the human moments, resolving in a single, grounded image.
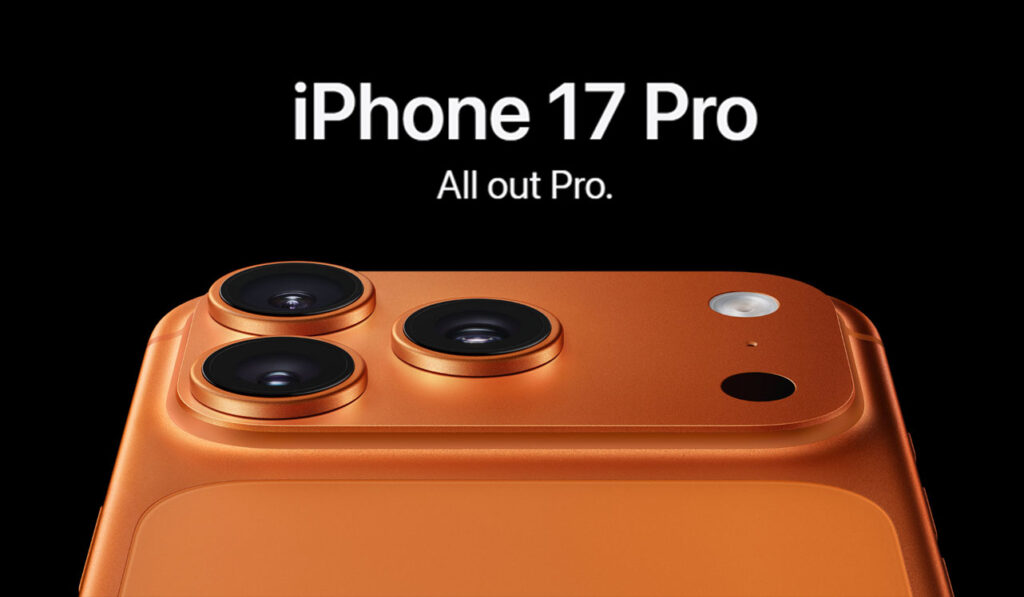
This shot wasn’t about creativity for its own sake; it was about restraint. Knowing when to stop generating and let something familiar speak for itself.
Purpose:
Final hero frame, completes the story by emphasizing strength and design.
What Comes Next: Building the Storyboard
Once the four hero shots are in place, it’s time to build around them.
I used Higgsfield Souls and Character ID to create my main characters and core moments. Then, I bounced between Nano Banana and SeedDreams 4 for refinements, adding realism, cleaning edges, and integrating the iPhone so it actually looks held, not composited. All these tools tools discussed can be found on Higgsfield.com
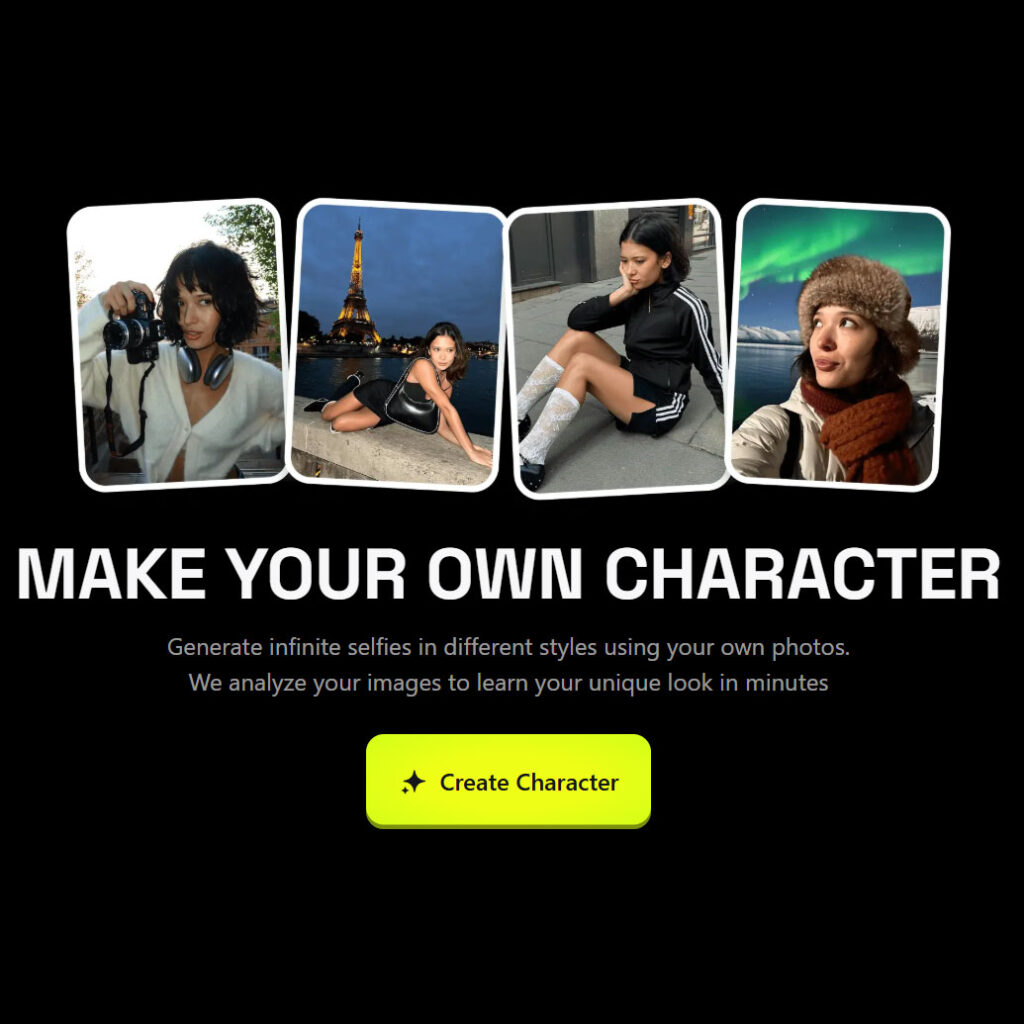
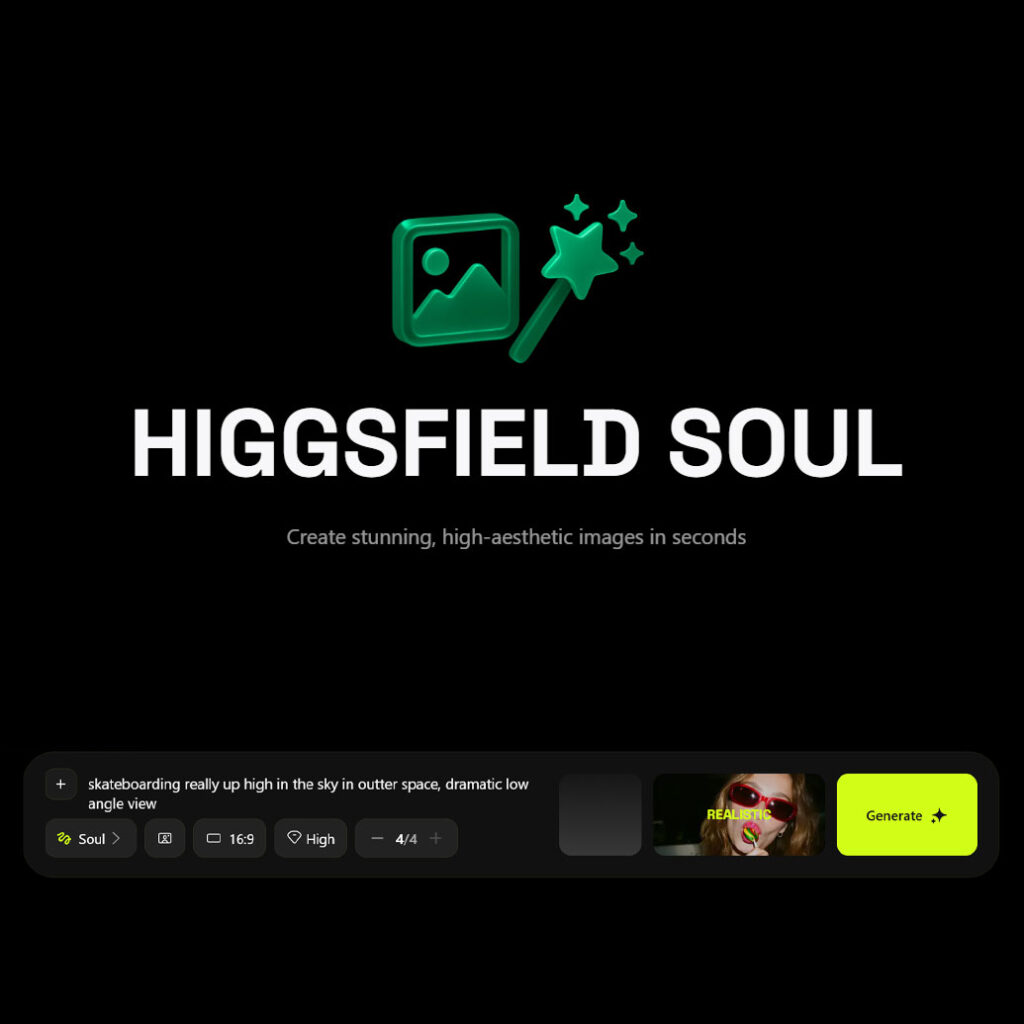
These two tools are perfect for recreating product shots inside character frames, but since this guide isn’t meant to go deep into that workflow, I’ll save the full breakdown for another post. It’s actually very self explanatory so a tutorial might not even be needed.
💡 Coming soon: A step-by-step tutorial on how to use Higgsfield Souls and Character ID for cinematic characters. (Link below once published.)
Now, we move to Higgsfield Popcorn, the storyboarding tool.
This is where ideas start to expand visually. You’ll generate a range of shots that explore pacing, tone, and flow between your main scenes.
Not every image will look good right away, and that’s fine. Many of them will be rough, strange, or just off. But those “bad” images are valuable. They spark direction, showing what could work next.
Think of this stage as sketching in motion, finding concepts, not perfection.
🎬 Building It Out: Turning Hero Shots into Concepts Shots
Higgsfield’s new storyboarding tool makes this process surprisingly smooth.
Right now, it allows you to upload four image references per scene, which you can edit, extend, and blend into your generated shots.
Those four images define your lighting, location, character, and product tone before you even start producing frames.
You can upload anything that visually supports your concept: mood references, stills from real footage, sketches, or even previous renders.
Then, in each scene, you can write out what happens moment by moment. That description helps Higgsfield generate storyboard frames that match your creative intent, giving you a cinematic base to build your final sequence from.
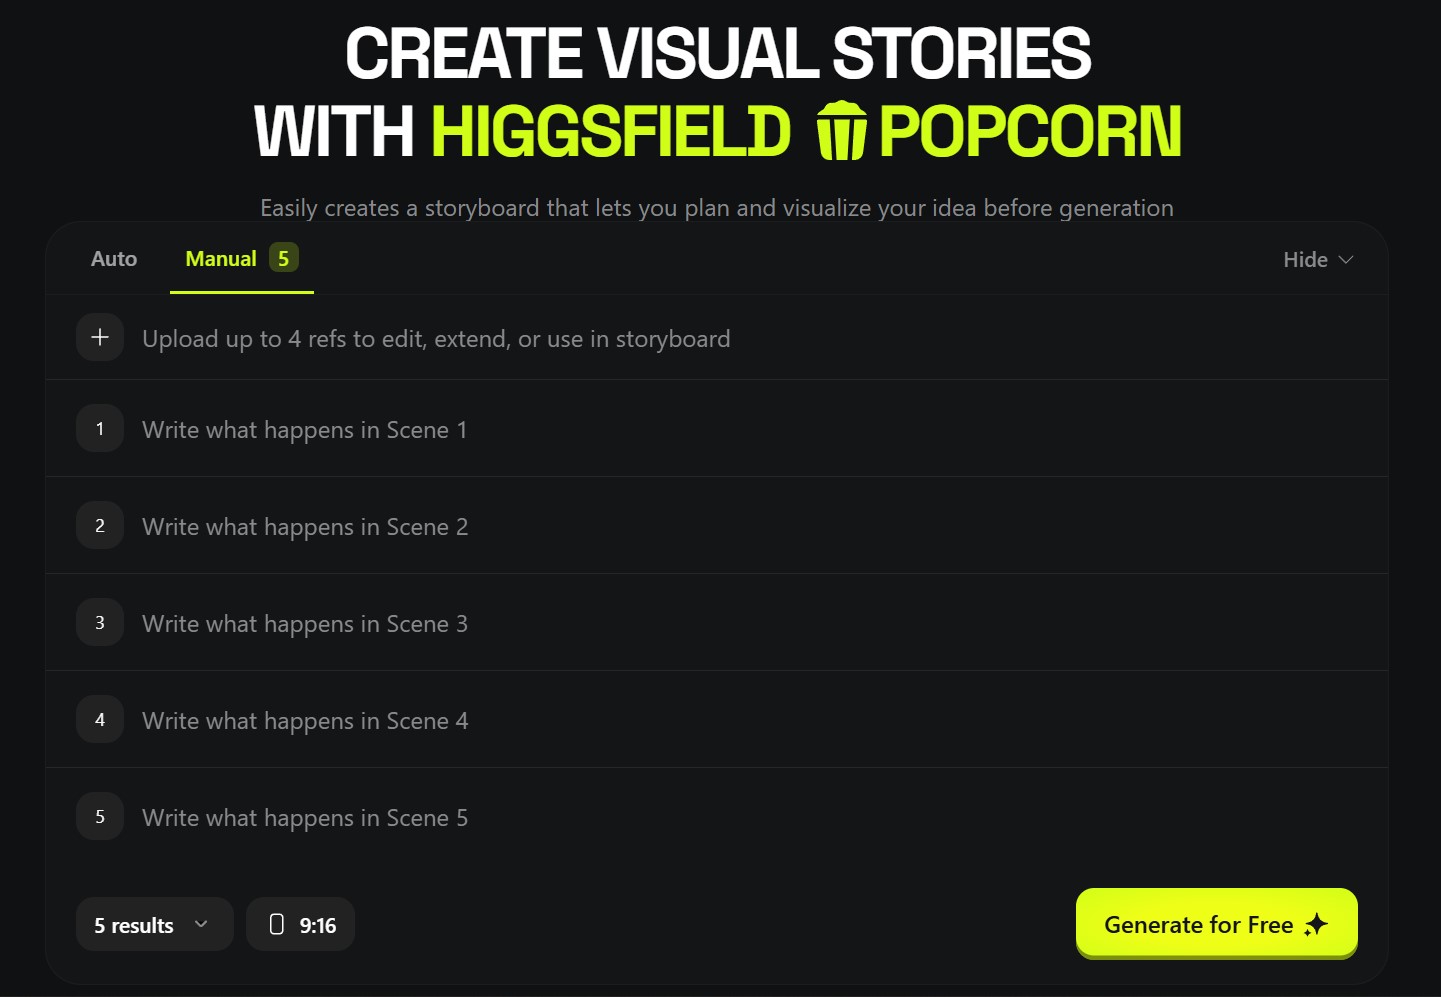
Using Higgsfield Popcorn: The Next Step
Right now, Higgsfield lets you generate up to 8 outputs in a single storyboard sequence. Each image or prompt you use counts as one result. Since we already have four hero shots ready, here’s how we’ll plan and upload:
- Upload 2 images: the first hero shot + the orange iPhone.
- Then prepare 6 prompts, so in total we have 8 results to fill.
- Choose either Manual mode (where I write out exact scenes after you upload the images) or Auto mode (where you describe the mood/action and Popcorn runs the rest).
- For Auto mode in our case: I’ll use something like: “Commercial for iPhone 17 about durability.”
- Because we’ve already locked our hero shots, we can now upload them and use those prompts to explore what shots we might need next, refining, iterating, and expanding.
Why this works:
Auto gives you fast output when you’re not sure what shot you need yet. Manual gives you full control when you do. Since we’ve got strong hero frames, we’ll use them as anchors, upload them, and then let Popcorn help generate the additional shots.
According to Higgsfield’s guide, you upload up to four reference images, set your prompt(s), choose how many outputs, and Popcorn will generate a consistent sequence, keeping characters, lighting and tone aligned.
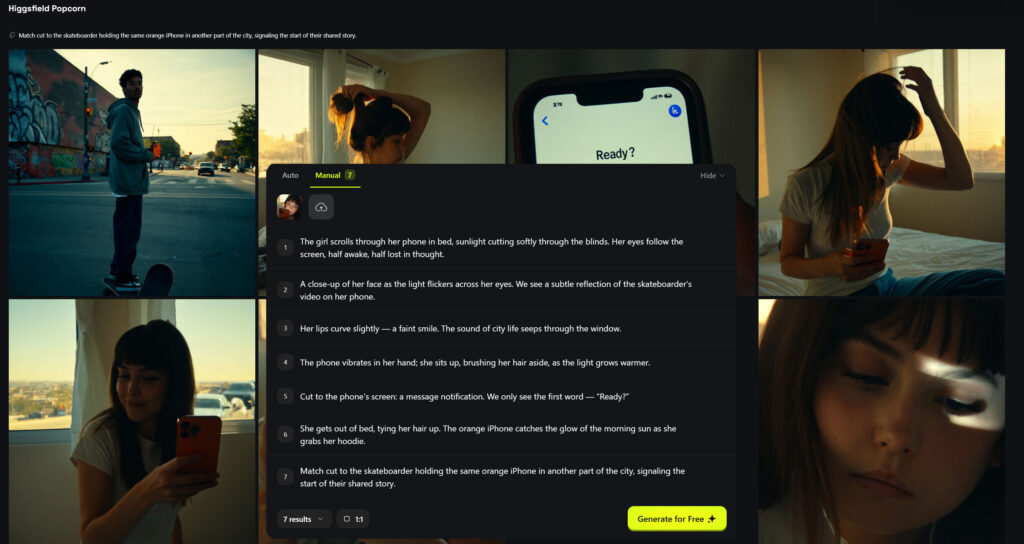
Writing Your Own Prompts in Popcorn (Based on Hero Shot 1)
Let’s start with the first hero shot; The girl lying in bed, softly illuminated by morning light, holding the orange iPhone. It’s quiet, grounded, and emotional. The kind of tone that sets the foundation for everything that follows.
In Higgsfield Popcorn, each uploaded image can generate up to seven scenes, so we’ll use this single shot as a base and expand the sequence from here. Think of it as storyboarding the emotion that happens around this moment, before, during, and after.
We’ll use Manual mode this time because it gives us full control. After uploading the first hero shot, we’ll write what happens in each scene, step by step, inside ChatGPT first. Once it feels right, we’ll copy those prompts into Popcorn.
Here’s an example of how this first image evolves into seven connected shots:
Once you’ve got your key visuals, it’s time to bring them to life.
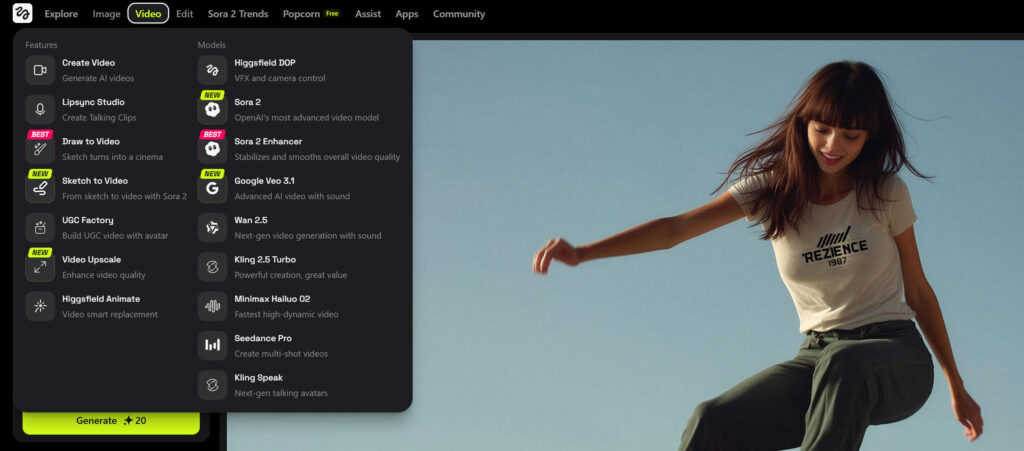
There are so many different AI animation platforms out there right now, each with its own strengths and quirks. The truth is, there’s no single “best” tool; you’ll have to experiment and see what works for your workflow.
Animating Your Shots
When I animate, I usually take my hero shots and test them across different models to see how movement, lighting, and transitions feel. Some platforms handle camera motion beautifully, others are stronger with facial expression or cinematic transitions. You’ll only find what fits your project through trial and error.
Once I land on the shots I like, I go back and refine them, cleaning up details and sharpening the visuals.
For this, I use LupaUpscaler or Magnific to upscale images and add realism, refining skin texture, edges, and micro details. But these tools can be expensive, so you have to use them wisely.
Think of them as your “final polish”, worth it when the shot really matters, but not every frame needs that level of attention.
This guide isn’t meant to show the only way to work, it’s more of a rough framework to understand how these processes can connect together. A lot of what I do is still experimental.
I move back and forth between different apps constantly. Sometimes, new ideas come from a failed render or a random test frame. It’s all part of the creative loop.
When you’re working in a studio or with a team, though, you might not always have that freedom to redo things endlessly. That’s why it’s important to balance exploration with direction, know when to push, and when to lock in your vision.
Final Thought
Animating in AI is still a moving target, the tools evolve every few months, and each one brings something new to the table.
Some platforms use start and end frames, letting you define how a shot begins and ends. Others don’t, meaning you’ll rely more on your prompt to guide motion. It’s not about finding the perfect model, it’s about understanding what each one is good at and using it to your advantage.
You might find one model great for realistic human movement, while another nails stylized lighting or product motion. In most cases, you’ll end up jumping between platforms, generating, refining, re-animating, until your sequence feels cohesive.
That’s part of the process. It’s messy, but it’s also where things happen.
Every test, every frame, every correction helps you understand what’s possible and that’s the point of all this. Not perfection, but exploration.
So don’t worry if your workflow looks different. The important thing is that you’re building something real, one frame, one test, one experiment at a time.

Leave a Reply