
Fixing Plastic AI Skin: The Complete Guide to Realistic Prompts
Fixing Plastic AI Skin starts with better prompts. Learn how to add natural texture, control lighting, and use tools like Enhancor to turn waxy AI portraits into lifelike, realistic images. Most people don’t realize this, but plastic-looking AI skin isn’t the model’s fault, it’s the prompt’s. If your portraits keep coming out waxy, airbrushed, or fake, you’re not alone. The truth is that most AI tools lean toward “beauty filter” defaults, smoothing away pores, freckles, and natural imperfections.
The fix isn’t to yell “ultra realistic photo” in your prompt. That only adds noise. The fix is learning how to direct your AI like a photographer: tell it what real skin looks like, control the lighting and camera, and cut out the junk before it shows up.
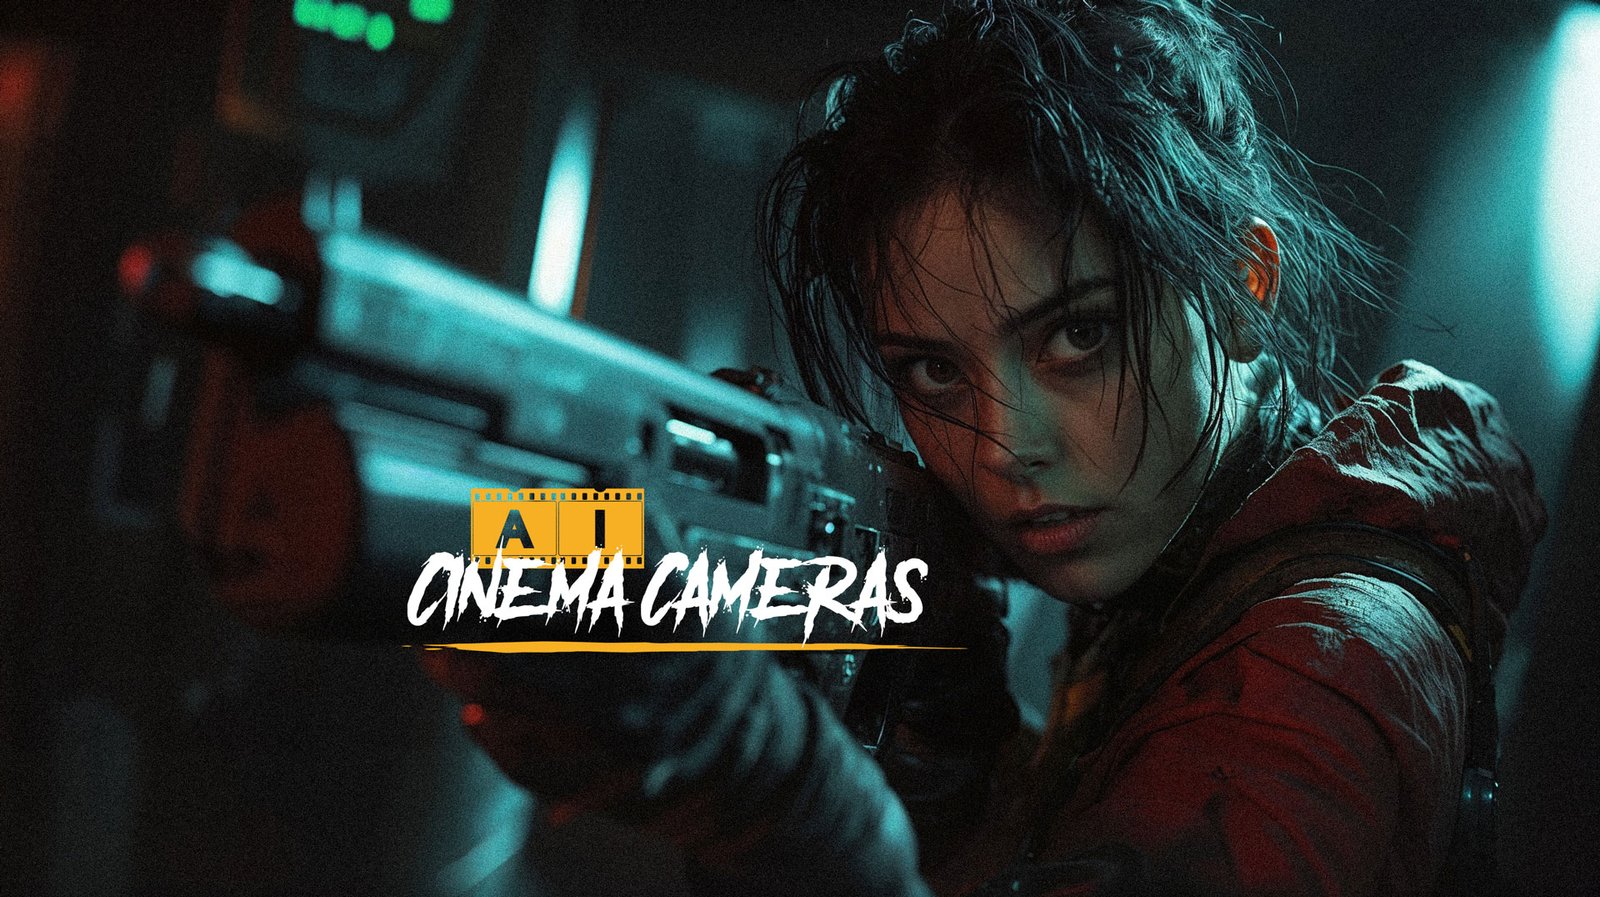
How I Use Cinematography and Film Camera Prompts in MidJourney (And Why They Actually Matter if You’re Trying to Make Something That Looks Real) Most people using MidJourney just throw in vague words like “cinematic” or “photorealistic” and hope for the best. But if you’re someone who’s spent time behind a real camera—whether it’s on…
Table of Contents
In this guide, I’ll walk you through how to prompt for natural, textured, human skin, across any platform, so your images stop looking plastic and start looking alive.
Why AI Skin Often Looks Plastic
Before tools and tricks: understand why many AI-generated faces / portraits come out looking “airbrushed”, “wax-like”, or unnatural.
- Models have learned from a lot of “beauty filter” or retouched imagery, with smooth skin, few blemishes; that becomes a default.
- Keywords like photorealistic, ultra detailed, high gloss often push the model toward over-smoothness and “perfect” skin.
- Lighting, texture, camera settings in prompts are vague, so the model fills with generic, filtered features.
- Absence of “what to avoid” means all the defaults (blurry patches, over-soft shading, missing skin pores) get in.
Understanding this helps you know what levers to pull.
Core Principles to Fixing Plastic AI Skin
Here are the foundational ideas. You’ll want to embed these in every prompt or image generation process:
- Realism over “perfect” beauty
Demand the quirks: visible pores, freckles, fine lines, natural color variation, uneven skin tones, minor blemishes. These imperfections are what signal “real skin” to both humans and the AI. - Technical / camera realism
Use camera / lens / lighting terms from real photography: e.g. “50mm lens,” “aperture f/1.8”, “handheld”, “ambient light”, “studio light but soft shadows”, “natural window lighting”, “backlight / side light”. This helps set constraints so the AI doesn’t just apply generic or flat lighting. - Negative instructions (negative prompts)
Being explicit about what you don’t want is as important as what you do want. Terms like “no plastic skin”, “no over-smooth skin”, “avoid gloss”, “no beauty filter / airbrushed”, “no cartoon / CGI / 3D render” help cut off the plastic tendency. - Context & environment
Where the lighting comes from, what the background is, what environment the subject is in (studio vs outdoors vs natural setting) all add cues for realism. Shadows, reflections, depth, environmental interaction (light bouncing off surroundings) matter. - Deliberate texture & detail
Telling the model “visible pores”, “fine wrinkles”, “freckles”, “skin texture”, “slight discoloration”, “natural blemishes” etc. helps. Also specifying resolution (e.g. “8K”, “ultra-sharp”) or “high detail skin texture” to ensure small details are preserved. - Balance detail vs noise
Too much detail (over-sharpening, too crisp pores, exaggeration) can also look artificial. You need texture, but avoid over-emphasis that turns skin into sculpture or wax. Slight grain, subtle imperfection, slight asymmetry helps.
Suggested Steps / Workflow (“How to Fix Plastic AI Skin”)
Here’s a more detailed, step-by-step workflow you can follow. You can adapt to whatever AI tool you use (Midjourney, Stable Diffusion, etc.).
| Step | What to Do | Why It Helps | Possible Prompts / Actions |
|---|---|---|---|
| Step 1: Define what real looks like in your case | Before prompting, think: age, gender, skin type, ethnicity, environment. What kind of “real” are you going for? (e.g. 40s, slight sun damage, freckles, natural pores) | Gives you guide rails; you know which details to push, which to avoid | “A 35-year-old woman with medium skin tone, visible skin pores, freckles, slight sun spots” |
| Step 2: Set the camera / lighting / lens details | Include realistic lens, aperture, lighting, framing in the prompt. E.g. “50mm prime lens, shallow depth of field, soft diffused studio lighting, golden hour” | These control how light interacts with skin; the lens / DOF influences sharpness, blur, texture perception | “Shot on Canon 5D Mark IV, 50mm f/1.4, natural window light, soft shadows, slight rim light” |
| Step 3: Add texture / imperfection keywords | Use positive descriptors for texture you want: “visible pores”, “fine wrinkles”, “freckles”, “slight discoloration”, “real skin”, “unretouched” | These force nuance rather than smooth polish | “Natural skin with visible pores and freckles, slight blemishes” |
| Step 4: Negative prompts / avoidance | Explicitly say what you don’t want: “no plastic / waxy skin”, “no over-smooth”, “avoid airbrush style”, “no beauty filter”, “no cartoon”, “no 3D render”, “no over sharpening”, “avoid gloss” | Cuts out the common AI tendency to “beautify” automatically | “–no over-smooth skin, avoid gloss, no beauty filter” (or whatever negative prompt syntax your tool uses) |
| Step 5: Use references or comparisons / model realism anchors | Compare to real photographs or mention photographic styles you like: photojournalism, editorial, naturalist portraits. Possibly reference known photographers, or specify “raw” style | Anchors the model to realistic styles rather than stylized or commercial beauty styles | “In the style of documentary portrait photography”, “raw, unretouched”, “editorial style lighting”, “street casting feel” |
| Step 6: Preview, iterate, refine | After you generate, examine: are there areas that still look plastic? Is lighting too even? Is skin too smooth, glossy or symmetric? Then adjust: remove offending keywords, adjust negative prompt, tweak lighting or detail words. | Because even good prompts often need refinement; AI outputs are unpredictable and context sensitive | Example: add “slight sheen”, reduce “ultra-sharp” or remove “glossy highlight”, or add “diffuse lighting” etc. |
| Step 7: Post-processing if necessary | Once you have a decent image, small edits in a photo editor can enhance realism: add slight texture, adjust contrast, reduce over-smooth parts, introduce mild grain, adjust color balance, shadow depth. | Even if prompt is strong, small visual tweaks often make a big difference in perceived realism. | Using Photoshop / GIMP / Lightroom etc to add grain, reduce shine, bring back natural skin tone, reduce harsh specular highlights. |
What Keywords / Phrases Practitioners Find Effective (And Ineffective)
Here are a collection of real keywords / prompt-phrases that people have tested (especially in Midjourney / Stable Diffusion) along with what works / what tends to fail.
| Keyword / Phrase | Effect (Positive or Negative) | Tips & Notes |
|---|---|---|
| “Natural skin”, “real skin” | Positive: helps reduce filter / beauty-gloss and push toward realistic texture. Medium+2Stockimg AI+2 | |
| “Unretouched”, “street casting” | Adds authenticity; reduces polished perfection. Medium+1 | |
| “Visible pores”, “fine wrinkles”, “freckles”, “slight imperfections” | Very useful; directly adds texture/character. Medium+2Stockimg AI+2 | |
| Camera / lens details (“50mm”, “prime lens”, “f/1.8”, “shallow DOF”, “studio lighting”) | Helps anchor in photographic realism; shapes how the light and blur behave. Stockimg AI+1 | |
| “High-key / low-key lighting / ambient / golden hour” | Lighting style can dramatically affect realism; harsh or flat lighting tends to emphasize fake features; real light with variation helps. Reddit+1 | |
| Negative keywords: “plastic skin”, “waxy skin”, “beauty filter”, “airbrushed”, “over-smooth”, “3D render”, “cartoon” | Helps suppress the plastic / smooth / unreal look. Many good negative prompt guides lists these. BetterStudio+3ClickUp+3Facebook+3 | |
| Less useful / risky: “ultra realistic photo”, “perfect skin” | These tend to trigger the beauty bias, over-smoothness, loss of texture. They are often “noise” or misleading because they push toward “ideal” which is often polished / artificial. Many guides warn that terms like this don’t solve the problem. BetterStudio+1 |
Common Pitfalls & How to Avoid Them
Even with all the above, people still mess up. Here are what often goes wrong, and how to avoid:
- Overloading adjectives: too many “beautiful”, “gorgeous”, “perfect”, “ethereal” etc. → leads to generic beauty-filter style. Try to pick a small set of meaningful descriptors.
- Conflicting instructions: for example, you say both “glossy highlights” and “matte skin” (or “no gloss”) in the same prompt. That confuses the model. Be clear, consistent.
- Too generic camera / lighting descriptions: “soft lighting” is good, but “studio light” alone doesn’t constrain enough; the model picks defaults which may be over-stylized. Better to say “soft diffused studio lighting with soft shadows” or even “window light, golden hour”.
- Ignoring negative prompt weights and syntax: Many tools allow weighting of negative prompts. If you just say “no plastic skin” but it’s weak weight or later overshadowed by “ultra realistic gloss”, it might not stick. Experiment with weights if tool allows.
- Assuming one prompt fits all: what works for a portrait may not work for fashion, e-comm, editorial, or product renders. Always test on your genre / style.
- Not iterating: generating one image and calling it done. The difference between a nearly good result and a great-looking, realistic result is often small tweaks: removing over-sharpness, adding slight texture, changing color balance.
Checklist / How to Evaluate If Skin Still Looks Plastic
After you generate an image, use this checklist. If you see any of the following, you probably need to adjust:
- Skin too even / uniform color, no variation (no freckles, no redness, no pores).
- Highlights are too sharp / specular and look like plastic (e.g., large glossy blotches).
- Shadows too flat or absent; no depth in cheekbones, under chin, sides of nose.
- Texture looks smoothed away (e.g., fine lines or pores missing).
- Symmetry is perfect (often a sign of “beauty-filter” perfection). Real faces have slight asymmetries.
- Lighting unnatural: too even, too soft everywhere → skin looks flat; or too glossy in spots.
- No negative artifacts, but also no small real imperfections: blemishes, slight discoloration, small marks.
If any of these are present, go back and adjust prompts: add negative keywords, add texture descriptors, change lighting or camera terms.
Sample Prompt Templates (Before / After Plastic Fix)
Here are some sample before/after style prompts. You can modify for your subject.
Before (plastic skin style):
“A hyper realistic portrait of a beautiful young woman, flawless skin, perfect lighting, ultra-detailed, high resolution, DSLR, studio lighting”
After (real skin style):
“A portrait of a 35-year-old woman with medium skin tone, natural skin texture, visible pores, slight freckles, unretouched, soft diffused natural window light, side lighting, 50mm lens, shallow depth of field — avoid gloss, no beauty filter, no plastic skin”
Research & Evidence That These Methods Work
To make sure this isn’t just opinion, here are what recent guides and blog posts / community experiments show:
- People using Midjourney and Stable Diffusion have reported that adding “natural skin”, “unretouched”, “slight imperfections”, “freckles” significantly improves realism of portraits. Medium+2Stockimg AI+2
- Negative prompts are widely used (see guides with 100+ negative prompt terms) to suppress plastic / waxy / smooth errors. ClickUp+2Anakin.ai+2
- Advice from “How to get photorealistic images with Midjourney” emphasises realistic lighting, texture, camera realism. Superside+1
- Some experiments show that removing “ultra realistic photo” or “perfect skin” from prompts actually improves results, because those words invoke the beauty filter bias. BetterStudio+1
Bonus Tricks & Advanced Tips
If you want to push even further, these help refine final results and are especially useful if you’re doing portraits / editorial / high end imagery:
- Use model / version that supports more realistic skin features: newer models (Midjourney v6, some fine-tuned Stable Diffusion LoRAs) often have more texture detail by default. Choose models known for photo realism.
- Combine positive & negative prompts with weights: e.g., give weight to the negative terms (“avoid gloss:1.5”) so they are stronger.
- Lighting variation: include small highlights (not full gloss), slight color casts (warm/cool), shadows with ambient occlusion. Maybe a bit of rim lighting or side lighting to bring out texture.
- Environment reflections / interactions: sometimes small environmental cues, background blur, dust particles, or even stray hairs add realism because they show the skin is part of a scene.
- Post-generation editing / filtering: Apply slight film grain, reduce overly sharp areas, dodge & burn (light / dark) subtly to bring contour depth.
- Reference images: If your platform allows image input or reference styles, feed examples of real skin (unretouched) so the model learns texture & tone.
Summary: What to Remember
- You’re directing more than describing. Saying what you don’t want is as powerful as what you do want.
- Imperfection = realism. Texture, nuance, blemishes, asymmetry = what feels human.
- Lighting, lens, camera details give context. They constrain how skin is rendered.
- Negative prompts are essential to pull back on plastic gloss / beauty filter bias.
- Iterate. Rarely is the first generation perfect. Adjust, refine, test.
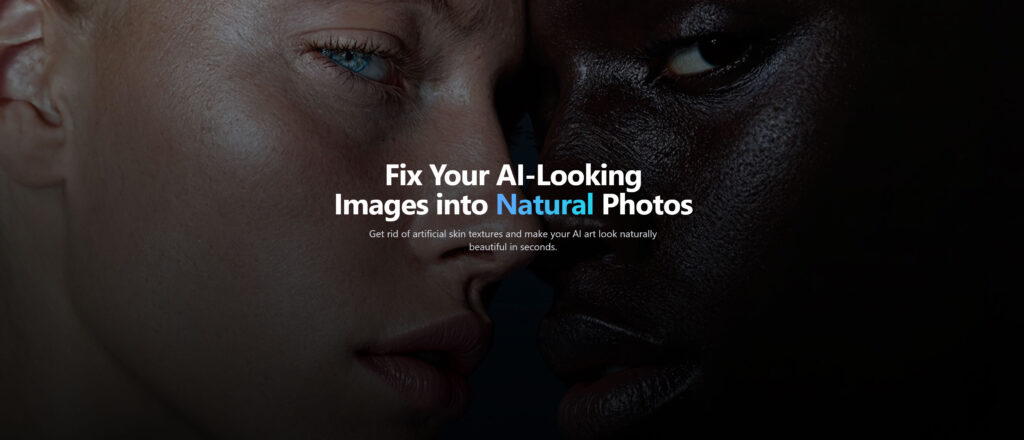
To wrap things up: while coming up with strong prompts is essential, tools like Enhancor take your realism game even further by refining what your prompt alone might miss. Enhancor’s AI is built to take synthetic or overly polished skin and add natural pores, depth, and fine skin texture so that your final image steps off the flat, glossy realm and into something believable. Enhancor+2AI Marketplace+2
That said, Enhancor isn’t your only option. I will pull together a list of comparable tools (their costs, ease-of-use, trade-offs) so you can choose based on your budget, desired result, and workflow in the future.
Tags And Categories
Share this post
2 responses to “Fixing Plastic AI Skin: The Complete Guide to Realistic Prompts”
-
This is such a strong reminder that “plastic skin” isn’t really a model flaw—it’s usually the defaults we accidentally steer into. The way you framed it as directing AI like a photographer instantly clicked for me.
-
Thanks Isla. Glad it was able to help you. In the fashion industry or in photography in general, many photographers and retouchers tend to do a lot of retouching to remove skin poors and blemishes. On Social Media, people smooth out their skin, so its funny now with AI we are trying to do the opposite. lol
-

Leave a Reply