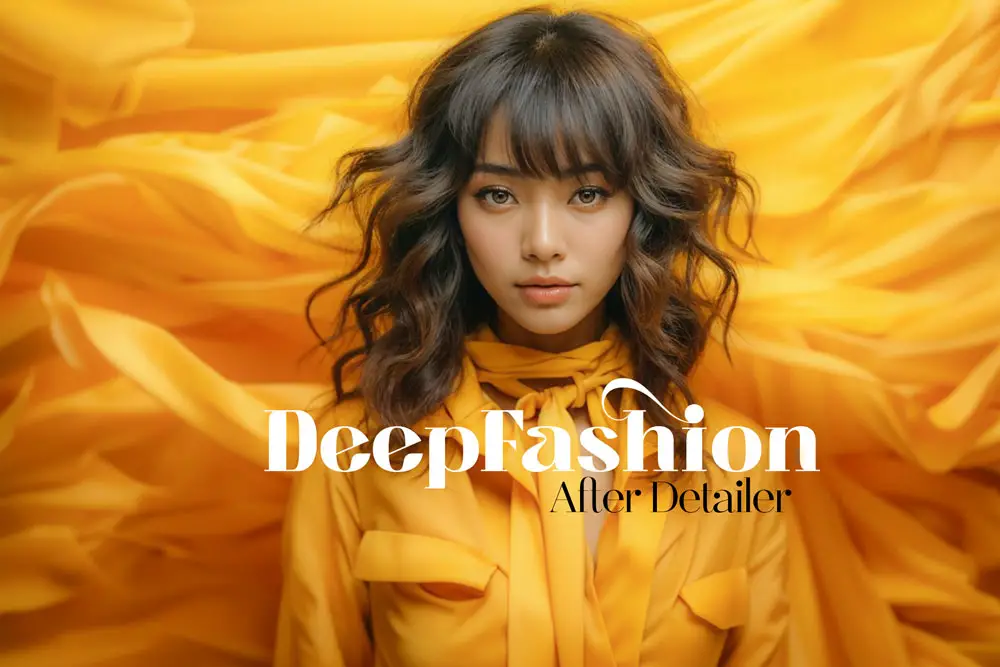
ADetailer Workflow 03: Add and Change Details with DeepFashion
Changing Outfits with ADetailer and DeepFashion
DeepFashion2 is a large-scale and comprehensive dataset of clothing images that can be used for various tasks such as detection, pose estimation, segmentation, and retrieval. It contains over 800,000 images of diverse clothing items, annotated with rich attributes, landmarks, and masks. DeepFashion2 is a valuable resource for researchers and developers who want to explore the applications of computer vision and deep learning in the fashion domain.
ADetailer is an extension for Stable Diffusion Web UI that can automatically detect, mask, and inpaint objects in images using ultralytics. Ultralytics is a framework that provides state-of-the-art models for object detection, segmentation, and classification. ADetailer can handle complex scenes with multiple objects and occlusions, and produce realistic and high-quality inpainted images. ADetailer can be used for various purposes, such as removing unwanted objects, changing backgrounds, enhancing aesthetics, and creating novel compositions.
In this tutorial, we will show you how to use DeepFashion in ADetailer to perform clothing detection, segmentation, and inpainting. We will use a pre-trained model that can detect and segment 13 categories of clothing items, such as tops, skirts, dresses, pants, etc. We will also show you how to use prompts and negative prompts to guide the inpainting process and achieve different effects. By the end of this tutorial, you will be able to use DeepFashion2 in ADetailer to create your own amazing images with clothing items. Let’s get started!
For more on DeepFashion2, see [here].
Table of Contents
Prerequisites for using DeepFashion2 in ADetailer
Make sure you have ADetailer and the DeepFashion2 model installed. If you haven’t done so yet, you can learn how [Here].
To learn about the user interface, click [here].
If you are ready, let’s begin!
You can follow along, using my prompts and settings below.
| Prompts: |
|---|
| Fashion photography, beautiful chinese Super Model wearing a skirt, fashion photo, 8k uhd, dslr, soft lighting, high quality, film grain, Fujifilm XT3, plain yellow background |
| Negative Prompts: |
|---|
| (deformed iris, deformed pupils, semi-realistic, cgi, 3d, render, sketch, cartoon, drawing, anime), text, cropped, out of frame, worst quality, low quality, jpeg artifacts, ugly, duplicate, morbid, mutilated, extra fingers, mutated hands, poorly drawn hands, poorly drawn face, mutation, deformed, blurry, dehydrated, bad anatomy, bad proportions, extra limbs, cloned face, disfigured, gross proportions, malformed limbs, missing arms, missing legs, extra arms, extra legs, fused fingers, too many fingers, long neck, BadDream |
| Model: Realistic Vision 5.0 (VAE) | Seed: See Below |
|---|---|
| Sampling Method: DPM++ 2m Karras | CFG Scale: 7 |
| Steps: 20 | Clip Skip: 2 |
| Height: 768 | Width: 512 |
| Upscaler: 4x UltraSharp | Denoising Strength: 0.4 |

In this tutorial, we’re using Realistic Vision 5.0, which is a bit more demanding than other models, but that’s part of the fun. We’re going to learn how to make it work step by step, and create some stunning images along the way. Right now, as you can see, the face looks like a Picasso painting in something that’s not suppose to look like a Picasso. Not exactly a dream date.
How to use DeepFashion2 in ADetailer
We now have our base image above, and it’s far from perfect, but that’s okay. We’re going to give her a makeover and change her outfit as much as possible. It’s not a walk in the park, because with ADetailer, you’re adding details on top of the original prompt, not replacing it entirely. There’s a better way to do that with a separate Inpainting Technique that I want to walk you through in another tutorial, but for now, we’re going to see how creative we can get with changing her clothes using every tool we have within ADetailer. To do that, we’re going to try out many options and see what works best.
DeepFashion Workflow 01: Seed: 362130582
Open the ADetailer dropdown menu:
Enable ADetailer
In the 1st tab:
Switch to the DeepFashion2_yolove8s model.
In this step, we will compare two different prompts and see how they affect the output:
The first prompt is Leather Skirt with the default denoising strength of 0.04. The second prompt is Plaid skirt, pink tank top with a denoising strength of 0.06. This is the minimum value that shows any effect for this prompt. The results are shown below:

You can see above that the image with the ‘plaid skirt, pink tank top’ prompt has some parts of the original outfit showing through. That’s because ADetailer is not designed for changing outfits completely, even though DeepFashion2 has many outfits in its dataset.
It can’t modify the overall image to match the new clothes, so it leaves some traces of the old clothes under the new ones. ADetailer also preserves the overall shape of the original outfit, so it may not fit well with the new clothes. To avoid this problem, we can use prompts that match the overall contour of the outfit she is wearing.
In this step, we write ‘Plaid skirt, pink sheer shirt’ as the prompt.
When we don’t use a separator [SEP], it treats it as one prompt for the whole image. So it makes her outfit plaid, pink, and sheer. But it still knows the skirt and the shirt, because DeepFashion2 learned fashion features.
When we use a separator [SEP], it splits the prompt into two parts: ‘Plaid skirt’ and ‘pink sheer shirt’. So it applies each part to the corresponding clothing item. It makes her skirt plaid and her shirt pink and sheer. This way, we can control the attributes of each clothing item separately.

Add a separator to split the prompts:
Plaid skirt,
[SEP]pink sheer shirtIncrease ‘Inpaint denoising strength’ to 0.9.
Enable ControlNet Model by Selecting the ‘sd15_Inpaint’ Model.
When you increase the Inpaint denoising strength, you get more of what you want, but also some unwanted changes that distort the subject’s shape. It looks bad. To fix that, you need to turn on ControlNet to keep the shape and let the denoising strength change the image inside the ControlNet map. If you keep the denoising strength too low, it doesn’t do much until 0.6 for complex prompts.
Add the negative prompts, ‘nsfw, yellow’.
ADetailer Prompt: Plaid skirt, [SEP] pink sheer shirt ADetailer Negative Prompt: nsfw, yellow I finally got what I wanted in the above image: a sheer pink shirt and a plaid skirt. But there was a problem: we could see through the shirt and that could get me in trouble with Google. So I added a ‘NSFW’ prompt to cover up the nudity. That worked, but it also changed our plaid skirt to a yellow one for some reason. To fix that, we added a ‘yellow’ negative prompt and we got the fourth image above. We could call this done, but let’s keep going and see what else we can do with different ControlNet models.

Enable ADetailer tab 1, deepfashion2
How Different ControlNet Tests Varies in Styles


You can see the tests for different types of ControlNet above. I tried two different models and one without any model. I liked the result without the ControlNet the most, but I had to lower the Inpaint denoising strength to 0.6 to avoid distortion.
Finishing Touches and Resolution Enhancement
For the final steps of this first Deepfashion2 workflow, I want to improve the faces and the hands. To do that, I will use a different model. Realistic Vision is a very good model, but it lacks some realistic and fine details that other models have. One of my favorite models for realistic images is epiCPhotoGasm, which can create amazing details. I will use epiCPhotoGasm to touch up the face and the hands.
To continue, go download it [Here]
Go to the 2nd.
Select the ‘face_yolove8s’ model
Type an ADetailer Prompt for the face.
(Any face descriptions)
Type a Negative ADetailer Prompt below:
Negative Prompts: render, cartoon, cgi, render, illustration, painting, drawing
Scroll down to the Inpainting dropdown menu,
Enable ‘Use separate checkpoint’
Select the ‘epiCPhotoGasm’ model.
Go to the 3rd.
Select the ‘face_yolove8s’ model
Type an ADetailer Prompt for the face.
(Any face descriptions)
Type a Negative ADetailer Prompt below:
Negative Prompts: render, cartoon, cgi, render, illustration, painting, drawing
Scroll down to the Inpainting dropdown menu,
Enable ‘Use separate checkpoint’
Select the ‘epiCPhotoGasm’ model.


Select the ‘control_sd15_openpose’.
Generate an image :
Use the settings and prompts we’ve been using and use the provided Seed above.
Enable ADetailer:
Choose the deepfashion2_yolove8s model. This will detect clothing.
Enter this prompt:
long sleeve leather jacket [SEP]black see-through fishnet skirt
Generate another image:
This is our second image.
Enter some negative prompts to get rid of unwanted details for the 3rd image.
Negative Prompts: render, cartoon, cgi, illustration, painting, drawing
Increase the ‘Inpaint Denoising Strength’ to 1.
Scroll down and check the ‘Use separate checkpoint’ box.
This will let you use a different ADetailer model.
Select the epicphotogasm_v1 checkpoint.
Enable ControlNet :
Select the ‘control_sd15_openpose’.
Generate an image to get your 3rd image.
Look at the 3 images and see the changes we have made so far.
Then we can go back to the other sliders and fine-tune the settings until we get the desired result.

You can see that the outfits generated by ADetailer have a halo effect caused by the original image’s contour. The skirt has yellow outlines and the black leather has a noticeable outline. There is also a line under the neck where the original image had a collar. You can some what fix this by using the different masking features.
Mask erosion (-) / dilation (+)
Adjust Mask Erosion Dilation Use the Mask Erosion Dilation parameter to reduce the overlapping of the base image as much as possible by eroding the box . For our example, the best setting is an erosion of 10. This matches our prompt and removes most of the overlapping of the base image. These outfits are very different from the original, so it is hard to get a perfect alignment. That is why this tool is better for adding details and not changing outfits. But we are just learning how to use these tools, so it is okay.

ADetailer: A Tool for Adding Details, Not Changing Outfits
ADetailer is a tool for adding details, not changing outfits. It can enhance your images with more realistic and detailed clothing, but it cannot swap your outfits completely. You will still see some overlapping of the original image, even if you adjust the mask erosion dilation. This is because ADetailer uses the original image as a reference and tries to match the shape and pose of the clothing.
To fix this issue, you need to use a different prompt where the outfit is larger than the original. This way, you can cover the original outfit and avoid the overlapping. For example, you can ask for a large fur coat or a long denim skirt that can hide the original outfit. That is what I did in my case, and it worked well.
| Prompt: |
|---|
large fur coat ,[SEP]long denim skirt |
For example, you can type:
| Negative Prompts: |
|---|
| render, cartoon, cgi, illustration, painting, drawing, wallet, purse |
I hope this guide helps you to use ADetailer more effectively. Remember, ADetailer is a tool for adding details, not changing outfits. If you want to change outfits completely, you need to use other tools and techniques that I will show you in another guide.

Final Image: Seed: 362130595

Final Thoughts
This was a good practice to touch up fashion, but I wouldn’t use this as a means to change outfits. I would use this more as a way to touch up outfits and change or add details. I have a different workflow using Inpainting and other techniques that I will explore on my site.
I am a fashion photographer who works with a lot of models and fashion. I want to use these concepts in a functional way in the fashion industry, turning it into virtual fashion for future ecommerce stores. AI is going to be very disruptive in fashion in the near future. I have been working with consulting firms to help deliver these ideas to the market and to gamify social media. I am also a consultant for a product that will build a decentralized web where these AI tools will be very important to monetize what we are doing now and for other creators.
If you are learning this right now, you are going to have a great start in what will be a new production pipeline. If you are a photographer, this is something you should be looking into doing, because there will be a lot of jobs for photographers to create content for machine learning within a fashion photography studio.

Introductionn As a lifelong artist and photographer, I’ve seen my fair share of changes and disruptions in the industry. But nothing compares to the revolution that’s currently underway with the emergence of AI and machine learning. As I’ve been experimenting with this technology, I’ve been blown away by what it’s capable of. I can take…

Leave a Reply