How do you fix faces in stable diffusion?
How Do You Fix Faces in Stable Diffusion?
As AI generative art continues to improve, community fine-tuned models are becoming more adept at creating very realistic looking images. However, the artistic pursuit of perfection sometimes encounters minor bumps in the road. Occasionally distortion or imperfection in face of generated images may occur. While less frequent now, these imperfections still need correction, and that’s where the “Inpaint” tool in Automatic1111 in the “Image to Image” (img2img) section comes to the rescue. This method works for both fixing bad faces, or just flat out replacing the face for something completely different.
Table of Contents
In this brief rundown, we’ll introduce you to the Inpaint tool and show you can fix those weird faces. This simple guide will help you make sure that your AI friend looks at least approachable.

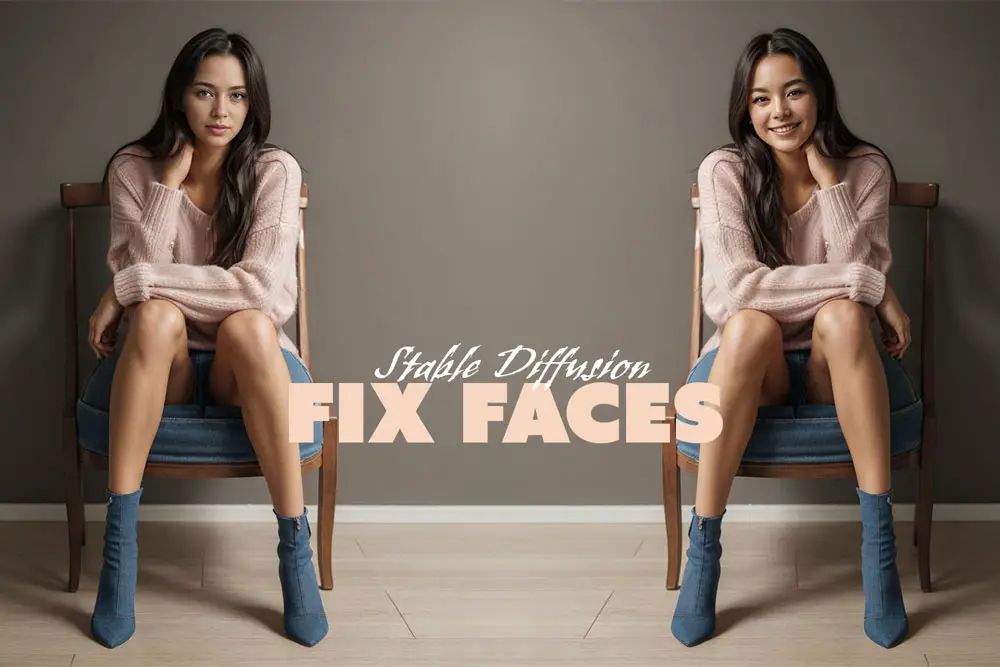
Learn about Stable Diffusion Inpainting in Automatic1111! Explore the unique features, tools, and techniques for flawless image editing and content replacement.
Fixing Those Weird Faces with A1111

Follow these easy steps to correct those eye imperfections:
Navigate to the img2img tab:
This is where you’ll find the tools you need.
Go to the Inpaint Tab:
Here’s where the magic happens.
Upload your image:
Simply drag and drop your image into the “Drop Image Here/Click to Upload Box.” If you previously generated, just use the “Send to img2img”
Copy your prompts:
If you used specific prompts to generate the image, copy them here (though in most cases, leaving it blank works better to match your image style).
Mask Face:
Paint over the areas you want to correct using the masking brush. (The face)
Resize and fill:
Adjust the image to fit the canvas.
Switch the Sampling method to Eula:
You can experiment with different sampling methods to get the desired results.
Click on the ‘Restore faces’ button:
Some models work better with these off because of embeddings, but in general this begins the restoration process.
Increase the batch count:
Up it to around 10 to give yourself a variety of options to choose from.
Adjust denoising strength:
Take it to .5 or .4, depending on your preference. The lower it is the less change there are. The higher, the more changes. Too far to one side and the results may appear to not change at all or change too much.
Hit ‘Generate’:
You’ll now have multiple images to select from. You might have to generate a few until you get one that is just right.
There you have it! With a few simple clicks and adjustments, you’ve transformed those odd-looking faces into beautiful, lifelike features. The Inpaint tool in A1111 makes it easy, giving you the flexibility to experiment and achieve the perfect look. Now you know how to fix faces in Stable Diffusion, knowing that even the trickiest face deformation issues are no match for your skills and the power of A1111! Or if you’re tired of the same faces over and over. This is a good way to get a new face lift.
The Inpaint tool in A1111 is just one of many powerful features available to artists, offering an easy and effective solution to common eye imperfections in generated images. With this simple guide, you’ve unlocked the ability to fine-tune your creations and overcome one of the occasional challenges in AI-generated art.


Leave a Reply