
Why Your Seedance 2.0 Videos Have Plastic Skin (And How to Actually Fix It)
If you’ve been pouring credits into Seedance 2.0 and keep getting that waxy, uncanny, “AI face” no matter how many times you rewrite the prompt, this guide is for you.
After enough generations, most users land on the same painful conclusion: no amount of prompting will make something look real if the starting image looks fake. That instinct is correct, and it’s the single most important thing to internalize before you burn another dollar of credits.
This is a working guide built around that insight. What’s actually going wrong, why it’s happening, and the concrete moves that move you out of plastic-skin hell and into footage that looks like it was shot on a camera.
Table of Contents
- The core problem: Seedance is a fidelity engine, not a fixer
- The first image is the boss
- Why ultra-sharp reference images look fake to Seedance (Plastic Skin)
- The character sheet question: does more references = faker output?
- Ultra-fine details: separate image or part of the sheet?
- The face filter situation
- The realism stack: a workflow that actually holds up
- What doesn’t work (so you can stop trying)
- The mental model to walk away with
The core problem: Seedance is a fidelity engine, not a fixer
Seedance 2.0 is built around what ByteDance calls a Universal Reference system. It accepts text plus up to 9 images, 3 video clips, and 3 audio files in a single generation and it gives heavy weight to those visual references for identity, lighting, texture, and composition. This is what makes it good at multi-shot consistency and director-level control. It’s also why it punishes bad inputs so hard.
The reference image isn’t a suggestion. It’s a conditioning signal that gets baked into the denoising process frame by frame. Whatever is in the reference, including the artifacts you didn’t notice, gets carried forward and often amplified.
Translation: garbage in, garbage out is the dominant rule. If your reference has plastic skin, uncanny lighting, or that subtle “AI sheen,” prompting your way out of it almost never works. You can layer on every “realistic skin texture, film grain, ARRI Alexa” tag you want, they’re band-aids. The model is doing what it’s designed to do: stay faithful to what you gave it.
This isn’t a flaw. It’s a tradeoff. Models with weaker reference conditioning let prompting “fix” more, but they lose the consistency Seedance is known for. You can’t get both.
The first image is the boss
Here’s a quirk most people don’t realize until they’ve wasted a hundred generations: upload order matters, and the first image carries the most weight.
When you attach files, Seedance auto-labels them: the first becomes @Image1, the second @Image2@Image1
What this means in practice:
- Your hero reference: the one carrying the identity you most want locked in, should always be uploaded first.
- The first image also tends to lock the aspect ratio and resolution baseline. A mismatched first image forces unwanted cropping on everything else.
- Prompt structure reinforces this. Describe
@Image1@Image2@Image3
Example structure that works:
“
provides the exact facial features, skin texture, hair, and clothing of the subject.@Image1defines the rainy Tokyo street lighting and atmosphere.@Image2is a motion reference only — use it for camera movement, not appearance.”@Image3
Swap that ordering, put the environment first, and watch the face consistency drop while the background takes over. It’s that mechanical.
You can nudge weights inside the prompt with phrases like “prioritize facial details from above all else” or @Image1@Image1@Image3@Image1
Why ultra-sharp reference images look fake to Seedance (Plastic Skin)
This one trips up almost everyone. You have a gorgeous high-res portrait. Pores visible, eyelashes crisp, zero noise and to your eye it looks completely real. You feed it to Seedance and the output comes back glossy, waxy, plastic. Meanwhile, when you’ve used a slightly worse reference, the result somehow looked more human.
There’s a real reason for this.
Seedance’s denoising and temporal layers are tuned for naturalistic film physics, subtle grain, micro-imperfections, realistic light scatter, subsurface scattering on skin. When you feed it an ultra-sharp, perfectly clean image, the model reads that as digital/artificial, not as photorealistic. It then tries to animate that perfection, which breaks natural motion blur and gives you waxy skin that morphs across frames.
The same pattern shows up in another way: During testing, I found that a slightly mid-res frame inserted among two crisp ones actually improved results, because it softened overfitting to pores and preserved overall shape. The model handles “filmic” inputs better than “digital” inputs even when the digital ones contain more raw detail.
The lower-quality references producing better results isn’t an accident either. Softer refs give the model room to fill in natural imperfections on its own rather than copying frozen perfection. You lose precise detail control, pore patterns and eyelash positions drift, but the output reads as human.
The trick is getting the best of both: high detail without that synthetic over-polish.
How to fix an ultra-sharp reference
Three reliable approaches:
Pre-process before upload. Add subtle film grain, a 5–10% Gaussian blur, or cinematic color grading in Photoshop or any decent image editor. You’re not degrading the image, you’re making it match the visual statistics Seedance was trained on. A pristine digital image is less in-distribution for this model than a slightly grainy filmic one.
Use a hierarchy of sharpness. Put a softer, well-lit frontal shot as @Image1@Image2
Bake realism into the source. If you’re generating the reference image in another tool (Seedream, Nano Banana Pro, GPT Image, Midjourney), prompt the realism in upstream: “natural skin texture with subtle imperfections, 35mm film grain, soft subsurface scattering, no digital sharpening.”
Your in-prompt counterpart on the Seedance side should always include something like: “realistic skin with visible pores and subtle oil, natural micro-imperfections, film grain, ARRI Alexa 35mm aesthetic, soft subsurface scattering.” Negative direction: “plastic skin, waxy, over-sharpened, digital sheen, AI artifacts.”
These prompt additions won’t rescue a bad reference. They’ll meaningfully help a reference that’s already in the right zone.
The character sheet question: does more references = faker output?
Short answer: no, but it can if you do it wrong.
A simple turnaround: front, side, back, three-quarter, works beautifully in Seedance because the images are cohesive: same lighting, same character version, no style clashes. The model gets a clean 3D understanding of bone structure and clothing without conflicting signals.
The trap most people fall into is dumping 6–9 unrelated images with different lighting, slight style variations, or wildly different image qualities. The model doesn’t elegantly blend these; it averages them poorly, leading to drift, neutralization of distinctive features, or “fake” blending where Seedance settles on a midpoint that lives in nobody’s face.
During a character consistency testing, I found the sweet spot is three stills max, all from the same session with the same lighting, one straight-on, one three-quarter, one profile. Mixed lighting between references (warm indoor + cool outdoor) caused the model to average them into a neutral, shifting skin tone and even apparent age. Mixed expressions (one smiling, one neutral) caused the model to pick a midpoint face that matched neither.
Counter-intuitively, one mid-res frame among two crisp ones often outperforms three crisp ones. The slight resolution drop on one image discouraged overfitting to pores and helped preserve overall shape.
A character sheet that actually works
- One frontal hero portrait (your
@Image1 - One three-quarter angle (same session, same outfit, same lighting)
- One profile (same session)
- Optional: one mid-shot for clothing/body context, only if the rest of your pack is rock-solid
Keep them cohesive. Same character version, same lighting setup, same expression baseline. If you’re generating the sheet upstream in a tool like Nano Banana Pro or Seedream, prompt for “neutral studio softbox lighting, consistent across all angles, same outfit, neutral expression.”
Then in Seedance, tag explicitly:
“@Image1 is the primary character identity. @Image2 and @Image3 provide multi-angle references for exact proportions and features. Same character as references: one consistent identity. Maintain 100% appearance consistency across all shots.”
That phrase , “same character as references: one consistent identity”, sounds redundant, but in my testing it noticeably reduced the model’s tendency to sample “type variants” of your character. It tells Seedance to treat the references as one person, not as separate suggestions to blend.
Ultra-fine details: separate image or part of the sheet?
This is where most people get stuck once their character sheet is dialed in. You have a specific texture you really want locked, a precise skin pore pattern, a fabric weave, glowing edge highlights on armor, slime sheen on a creature, panel lines on a weapon, and you don’t know whether to fold it into the sheet or upload it as its own reference.
The answer in almost every case: upload ultra-fine details as their own dedicated @Image rather than burying them in the character sheet.
Why isolated detail references work better
Seedance’s reference system gives stronger, more targeted conditioning when a detail lives in its own image slot. The model treats it almost like a texture map or style anchor instead of averaging it into general character identity.
When that same detail is buried inside a busy character sheet, three things tend to happen:
- The detail gets diluted across the whole reference. Subtle pore variation gets smoothed out. Slime sheen gets averaged with surrounding skin. Glow effects get washed.
- The model deprioritizes texture in favor of overall consistency. Silhouette and lighting “win” over micro-detail.
- You lose surgical prompt control. You can’t tell Seedance “soften the metallic reflection from
@Image1“ because@Image1is also doing identity, proportions, and clothing duty.
With the detail isolated, your prompt becomes precise:
“@Image1 = primary character identity (full body, neutral lighting). @Image4 = skin texture and pore reference only, realistic subsurface scattering, natural micro-imperfections, no plastic sheen. @Image5 = glow detail reference, soft natural light bloom, no hard CG edges.”
Now you can apply realism-pulling language to the detail ref specifically without contaminating the rest of the generation.
The “too perfect detail” trap
Here’s the edge case worth flagging: ultra-sharp details are exactly the inputs most likely to push Seedance toward plastic or CG-looking output (back to the sharpness problem from earlier). Razor-clean metallic reflections, pristine glowing edges, perfect wet sheen, the model reads these as digital, then animates them as digital.
When you isolate these details into their own @Image, you can target them with softening language:
“@Image3 provides metallic surface texture only, natural battle wear, dust, subtle scratches, soft filmic reflections, no pristine CG sheen.”
You cannot do this cleanly if the metallic surface is one element among twelve on a character sheet. The model has no way to apply that instruction selectively.
When it’s fine to keep details in the sheet
Some details are part of the character’s core DNA rather than texture work, the exact hair gradient, the overall silhouette of armor, the specific shape of a weapon, the proportion relationships. These belong in the main sheet because they are the identity. Trying to isolate them creates more drift, not less.
The line I use:
if the detail is what something is, keep it in the sheet. If the detail is how something looks at close range, isolate it.
The workflow pros are using right now
Across the Seedance community in mid-2026, the dominant pattern looks like this:
- One cohesive character turnaround sheet (3–5 angles, same lighting, same session) as
@Image1, strongest identity lock. - One or two dedicated texture/detail references as
@Image2,@Image2 - Prompt hierarchy: describe
@Image1 - Don’t exceed five total image references unless you genuinely need to. More slots = more averaging.
This gives you the consistency benefits of a proper character sheet plus the targeted detail control of isolated references, without the dilution that happens when you try to do everything in one image.
A quick prompt skeleton for detail-heavy generations
“Photorealistic cinematic footage, ARRI Alexa 35mm aesthetic, natural film grain, realistic motion physics, subtle imperfections, no plastic skin or digital sheen.
@Image1provides exact character identity and proportions.@Image2is a dedicated texture reference only: [skin / armor / fabric / slime] detail.@Image3is a glow/effect reference – natural soft bloom, no hard CG edges.”
The structure matters: identity first, then explicit role assignment for each detail ref. Without those role assignments, Seedance defaults to blending everything together, which is exactly the problem isolating details was supposed to solve.
Coming soon: a follow-up post critiquing real reference packs – character sheets, kaiju refs, mecha designs – and walking through exactly which images to isolate for maximum realism. Link will go here once it’s live.
The face filter situation
Worth knowing upfront because it shapes the whole workflow: Seedance 2.0 globally blocks real human face uploads. The filter operates at the model layer, not the wrapper, so every platform, Dreamina, Higgsfield, OpenArt, the Volcengine API behaves the same way. ByteDance built this in to prevent deepfakes, and the filter examines low-level pixel patterns characteristic of camera sensors. Photos of real people get rejected; AI-generated portraits pass cleanly because they have different pixel statistics.
The standard legitimate workaround is the AI-portrait route: generate your character in a high-quality text-to-image tool (Seedream 5, Nano Banana Pro, GPT Image), then feed that portrait into Seedance as your reference. ByteDance actually documents this as the intended path for likeness work.
This means your realism strategy is largely a pre-Seedance strategy. The quality of your AI-generated portrait determines how real your final video looks. Spend time there. Generate ten variations and pick the one that reads most human, not the sharpest, not the most detailed, but the one with the most natural skin variation, the most believable lighting, the fewest tell-tale AI tells around the eyes and ears.
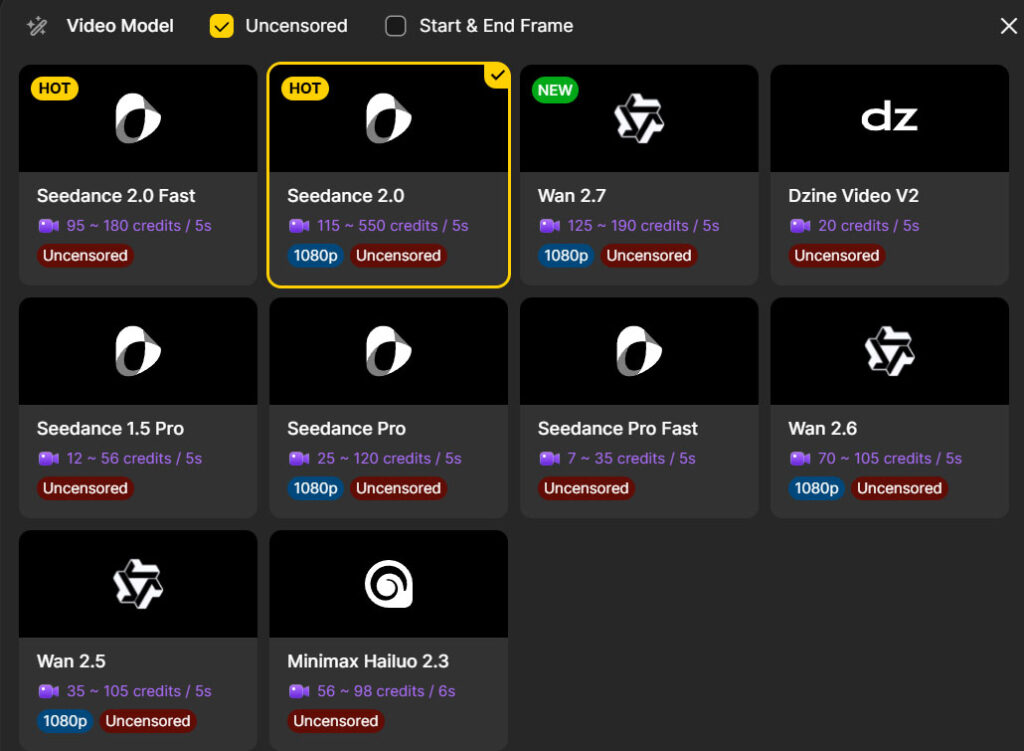
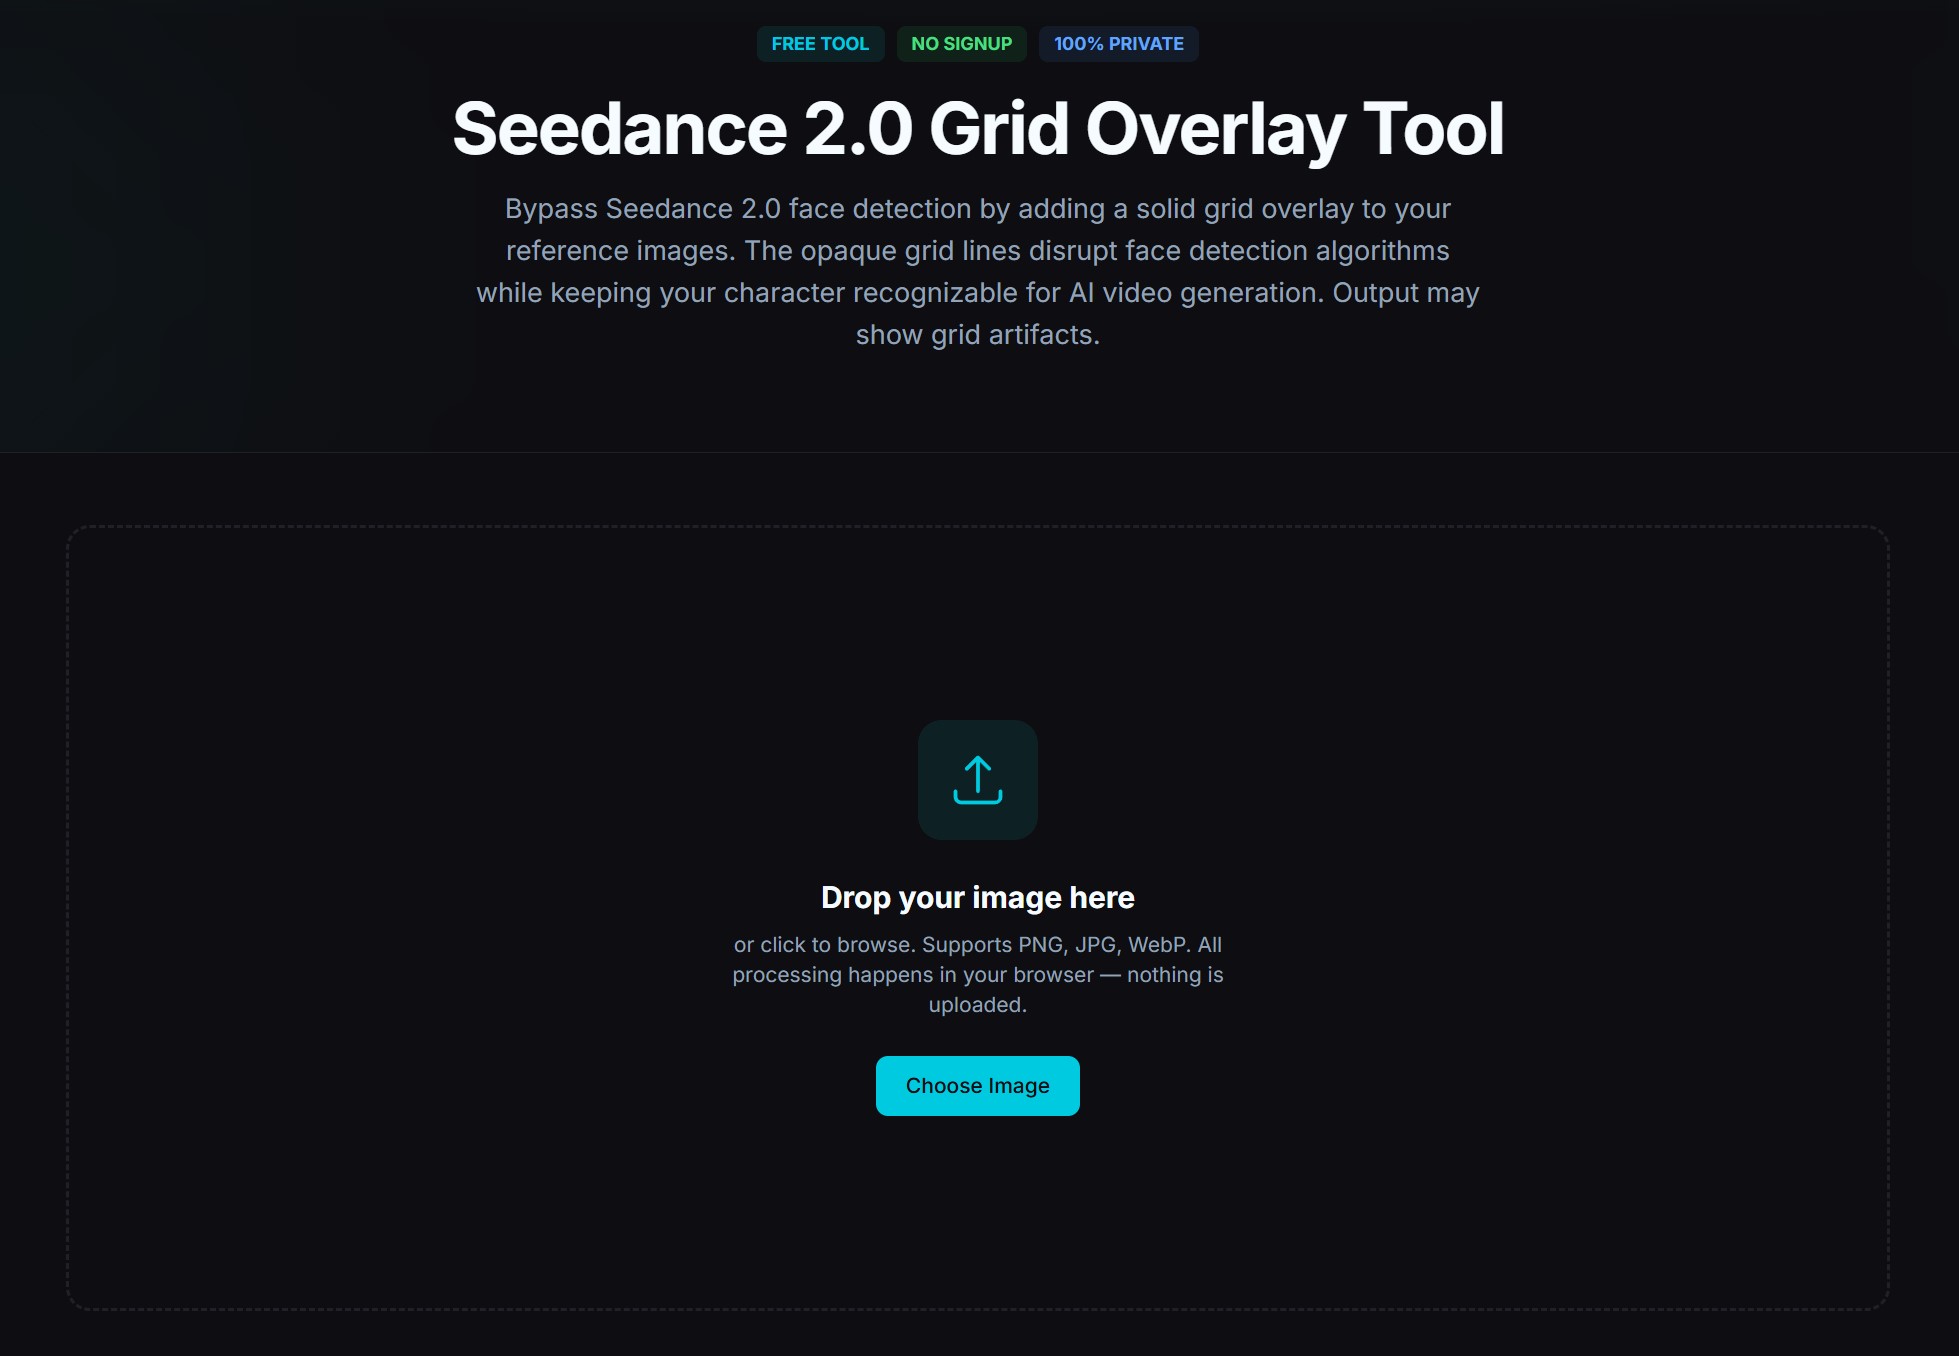
Bypass tricks like grid overlays exist but introduce visible artifacts. The cleaner path is to generate a fictional character that resembles what you want and own that as your reference asset. A platform I use that doesn’t have any of these censorship at all is Dzine. Many platforms now have image verification to know if an image is allowed to be used, but if it doesn’t work you can always use the Grid Overlay Tool linked below or hop on Dzine AI.
The realism stack: a workflow that actually holds up
Putting it all together, here’s the workflow that consistently produces footage that doesn’t scream “AI” on first look:
1. Generate a pristine reference upstream. Don’t treat reference creation as a casual first step, treat it as its own production stage. Use a strong image model. Prompt explicitly for filmic realism: natural skin texture, subtle imperfections, soft subsurface scattering, 35mm film aesthetic, no digital sharpening. Generate ten options, pick the one that’s most believable, not the one with the most pixel detail.
2. Pre-process if needed. If your reference is ultra-sharp or has any “digital” tells, add subtle film grain and a hair of softening before upload. This single step fixes more “plastic skin” problems than any prompt change.
3. Order your uploads deliberately. Hero identity image first as @Image1. Supporting angles and detail references as @Image2@Image3
4. Match lighting across your reference pack. All character references should share the same lighting setup. Mixed warm/cool lighting between refs averages into neutral skin tone and subtly ages or de-ages the face.
5. Write a structured prompt. Use the formula [Subject] + [Action] + [Environment] + [Camera Movement] + [Mood/Style], with explicit @Image tags assigning roles. Start the prompt by describing @Image1. Layer realism descriptors near the end. Keep it under a paragraph, long contradictory prompts hurt.
6. Lock realism in language. Include phrases like: realistic skin with visible pores and subtle oil, natural micro-imperfections, film grain, ARRI Alexa 35mm aesthetic, soft subsurface scattering, naturalistic lighting physics. Add anti-cues: no plastic skin, no waxy texture, no over-sharpened digital sheen, no AI artifacts.
7. Test cheap before you commit. Use Seedance 2.0 Fast or a short 4–5 second generation to validate your reference and prompt combo. If the first two seconds look plastic, the rest will too. Swap the reference rather than tweaking the prompt. That’s the leverage point.
8. Iterate one variable at a time. My debugging method: run three identical generations, change one thing on the third. If you can’t isolate what’s helping, you’re not learning anything. Most people churn through retries changing five things at once and end up confused.
What doesn’t work (so you can stop trying)
- Prompting your way out of a bad reference. It doesn’t matter how many realism descriptors you stack, the reference dominates.
- Maxing out the 9-image slot count. More references with conflicting signals = more drift, not more control.
- Trying to use real photos of people. The filter catches them. The AI-portrait route is faster and produces better results anyway because the pixel statistics match what the model expects.
- Cranking sharpness on the reference. Counter to instinct, but it produces the exact plastic look you’re trying to escape.
- Writing “cinematic, photorealistic, 8K, masterpiece, ultra-detailed” stacks. These have become weak signals at best. Specific descriptors of how light and skin should behave do more work than vague quality words.
- Switching models hoping for a fix. If your reference is the problem, every model with strong reference conditioning will reproduce it.
The mental model to walk away with
Seedance 2.0 is a fidelity engine. It does what you show it, with the priority hierarchy you set at upload, with the realism statistics baked into your reference. It’s not a magic wand that takes a fake-looking input and makes it real. It’s a precision tool that rewards careful preparation and punishes shortcuts.
The single highest-leverage move you can make to escape plastic-look hell is to stop treating reference creation as a quick first step and start treating it as the most important part of the pipeline. Spend more time on the portrait than on the prompt. Match lighting across your pack. Soften ultra-sharp inputs. Upload your hero first.
Do that, and you’ll find prompts stop feeling like incantations and start feeling like direction notes to a model that’s actually listening.


Leave a Reply