
ControlNet’s More Refined DWPose: Sharper Posing, Richer Hands
DWpose within ControlNet’s OpenPose preprocessor is making strides in pose detection. It stands out, especially with its heightened accuracy in hand detection, surpassing the capabilities of the original OpenPose and OpenPose Full preprocessor.
To showcase its improvements, I conducted a comparison for our test, illustrating how it outperforms the original openpose preprocessor.
Table of Contents
Making the Transition to DWPose
The DW OpenPose, or DWPose as we’ve come to call it, offers far superior accuracy. It’s become my go-to for body pose analysis, providing especially clear results for hands.
To get started with DWPose, you’ll want ControlNet version 1.1.2. But honestly, your best bet is to simply update to ControlNet 1.1.4. This way, DWPose comes pre-installed, saving you a step.
Related: DWPose Research and Repository
DWPose vs. Original OpenPose
During my tests, I noticed the original OpenPose Full version had a consistent issue with detecting hand keypoints. In contrast, DWPose pinpointed these keypoints with much improved joint details. With DWPose available, there’s minimal reason to revert to the original OpenPose.
In the sections to follow, I’ll guide you through using DWPose and draw comparisons with the older version of OpenPose.

This particular pose presents a challenge due to the complexity of holding a katana in one hand and having the other partially obscured behind the head. Additionally, there’s a sword that OpenPose doesn’t detect, leading to overlapping issues. OpenPose primarily focuses on anatomical aspects, causing difficulties in perfecting hand poses.
In this scenario, relying solely on DWpose may not provide a complete solution. While DWpose does enhance finger details, I’ve attempted various renderings, and despite adjustments, the results remained unsatisfactory. Fine-tuning finger joints in the Pose Editor seemed to exacerbate the issue.

From my perspective, even with DWpose’s capabilities, it doesn’t significantly improve the outcome. There’s also mention that DWpose might not function optimally in the new ControlNet update 1.1.4. I’ll update this blog when the issue is fixed. Pre-update, DWPose did a great job at fixing fingers, so fingers crossed! Pun intended.
Refining and Perfecting with Inpainting: Touching Up Your Image
Steps:
Send Image for Retouching:
Ensure you’ve sent your final image for retouching to the Inpaint tab.
Conceal the Left Hand:
Start by hiding the left hand behind the hair using the Inpainting Tool in A111.
Identify Problem Areas:
Find the problematic parts in your image and paint them out using the Brush Tool.
Boost Resolution:
Increase the resolution to your preferred size for better results. You can do this by going to “Resize to.”
Mask Mode:
Set Mask Mode to “Inpaint Masked” to target specific areas.
Maintain Original Content:
Keep the masked content true to the original image by selecting “Original” as the Masked Content.
Inpaint Only Masked Areas:
Focus the inpainting process exclusively on the masked regions by choosing “Only Masked” in Inpaint Area.
Enhance Face and Hands:
Use a 1024×1024 resolution to refine the face and hands until they look just right.
Adjust Denoising Strength:
Play with the Denoising Strength setting. Lower values keep the original image, while higher values bring more change. Consider 0.02-0.04 for minor adjustments and higher values for intentional alterations.
Handling Hand Issues:
Dealing with hand-related problems in A1111 can be tricky. Alternatively, explore the AI Generative Fill feature in Photoshop for powerful solutions.
AI Generative Fill in Photoshop:
If you have Photoshop, employ the AI Generative Fill feature. Select problematic areas, leave them blank, and let the tool make necessary adjustments. For specific changes, type them in and generate further options. Be prepared for multiple attempts in Photoshop to achieve the desired outcome.
Photoshop’s Strength:
Photoshop shines in detailed masking and adjustments, making it perfect for intricate touch-ups. You can use its new AI Generative Tool to replace or modify elements, like positioning the hand behind the hair.
Photoshop’s advanced tools are particularly handy for fine-tuning your images.


Upscale Your Image to Any Resolution
To conclude, I’ve applied a well-known upscaling technique, influenced by Sebastian Kamph, with some personalized modifications. You can find a detailed tutorial on this upscaling method in this link: Upscale to any resolution,.
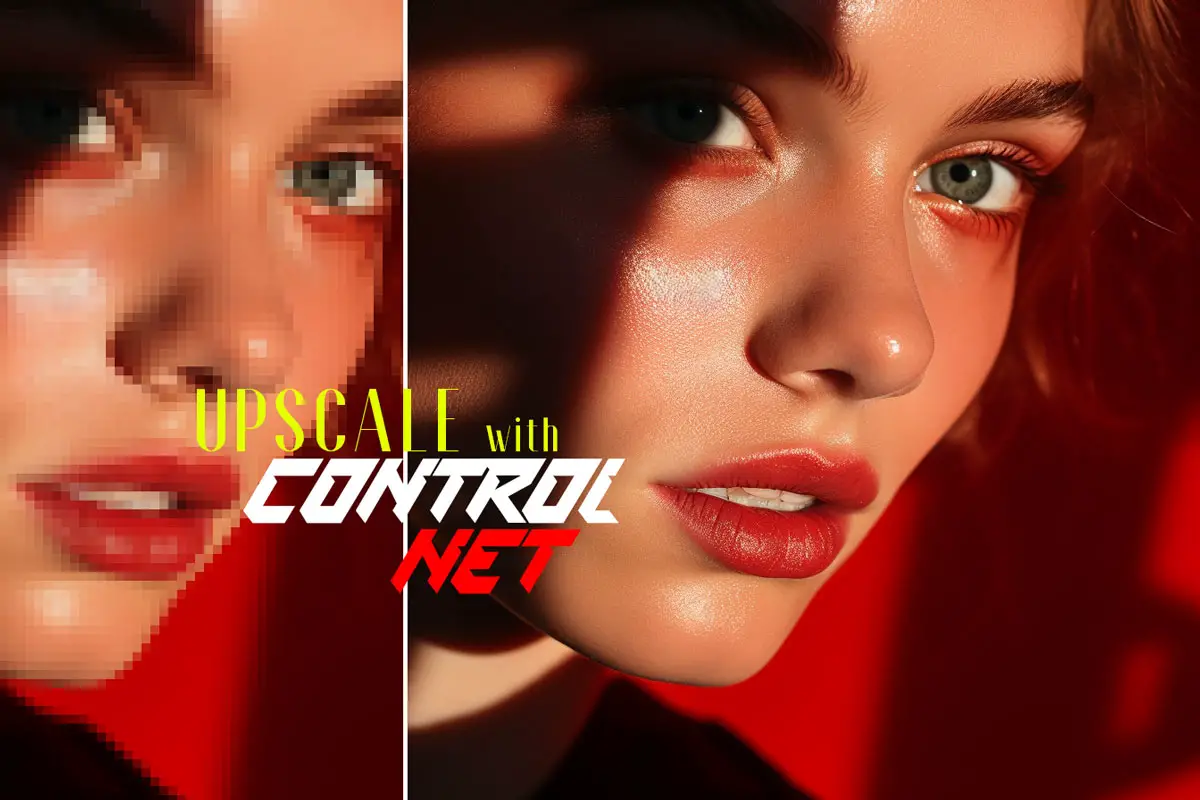
Learn how to upscale Stable Diffusion art with ControlNet Upscale. Ever tried to transform your favorite small image into a massive printable billboard, only to be met with unnatural smoothness, loss of details, or quirky artifacts?
Final Image

For those interested in learning how to use Inpainting in A1111, check out the link below:

Learn about Stable Diffusion Inpainting in Automatic1111! Explore the unique features, tools, and techniques for flawless image editing and content replacement.
The ControlNet Blueprint:
- Why ControlNet is Setting New Standards in AI Art Generation
- How to Install ControlNet Automatic1111: A Comprehensive Guide
- Understanding ControlNet Interface in Automatic1111 Web UI
- How to Upscale to any resolution using the Power of ControlNet’s Tile and Ultimate SD Upscale
- Understanding ControlNet’s Pixel Perfect in Stable Diffusion
- How to Use OpenPose in ControlNET


Leave a Reply