ADetailer Img2Img: How to Upscale and Add Details
Welcome to this guide, where I will teach you how to upscale and detail your images with ADetailer Img2Img. This is part of the ADetailer workflow that I have been showing you in my previous blogs. You will need some base images that you have generated with ADetailer before, so if you don’t have them yet, use the prompts and seeds below to create them. Or, if you feel like you need a refresher on how to use ADetailer, go back to my previous blogs and catch up.
If you are ready, let’s proceed and see how we can make these images look better and more realistic with Img2Img and ADetailer. I will use previously used prompts and ADetailer prompts to generate these images, and then show you how to use Img2Img and ADetailer to upgrade them.
Upscale and Add Details with ADetailer Img2Img
This guide is all about upscaling and detailing your existing images.
Table of Contents
How to Fine-Tune Your Upscaled Images with ADetailer Img2Img Adjustments
When working with ADetailer Img2Img, it’s recommended to set the change factor to a maximum of 0.3 (as opposed to the default 0.1) to avoid drastic alterations to the original image.
Finally, the Mask max area ratio setting is crucial for adjusting detection accuracy. A setting of 0.01 corresponds to a 1 percent detection area, while a setting of 1 equates to 100 percent. Adjusting this setting helps fine-tune the balance between detail and overall image composition.
The Prompts and Settings You Need to Follow Along
| Prompts: |
|---|
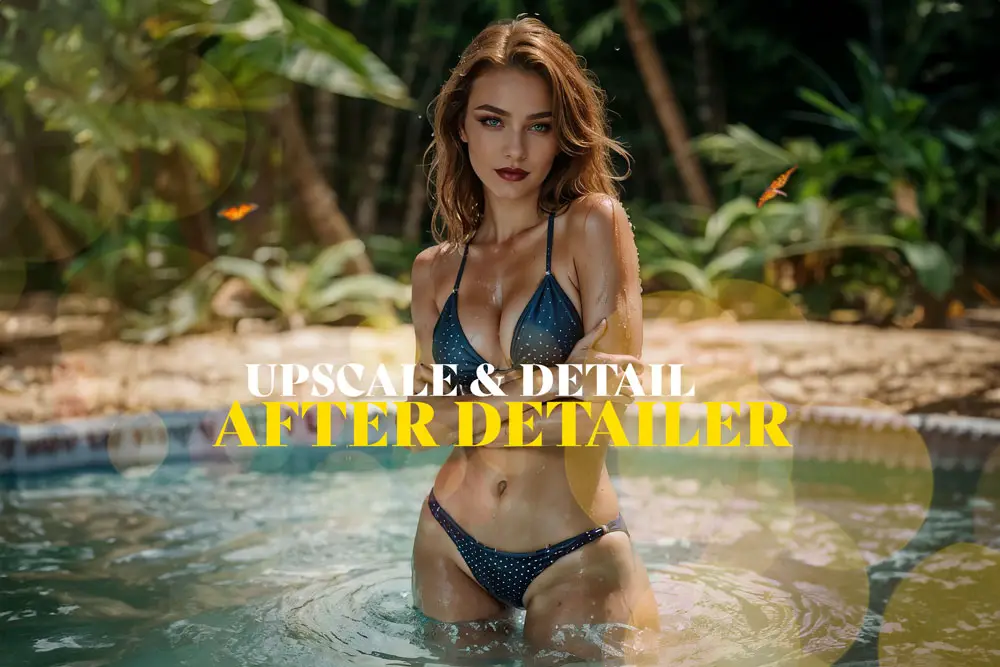
| Portrait of a beautiful redhead swimsuit woman emerging from a pool, her face glistening with water droplets, capturing the essence of spontaneity and refreshment. The setting is lively with blurred figures in the background, suggesting a social atmosphere. The image focuses on the woman’s expression, a mix of invigoration and serenity, as she emerges from the water. Soft lighting, highlights the wet texture of her skin, adding depth. Background blurred, creating a striking contrast between the sharpness of the woman’s features and the indistinct ((crowd of people)) |
| Negative Prompts: |
|---|
| ng_deepnegative_v1_75t, cartoon, painting, illustration, (worst quality, low quality, normal quality:2) |
| Model: epicPhotogasm V1 | Seed: See below. |
|---|---|
| Sampling Method: DPM++ 2m Karras | CFG Scale: 7 |
| Steps: 20 | Clip Skip: 2 |
| Height: 768 | Width: 512 |


How to Upscale and Add Details with ADetailer Img2Img
In this tutorial, we will use the seed “2242432152” to generate an image. We won’t go over the generation process because we already covered that below:

Change the Background with ADetailer Merge and Invert In this ADetailer workflow, I want to put everything we learned together, using all the tips and tricks we’ve learned in previous guides. ADetailer is a powerful tool for detailing, not changing the entirety of the image, so keep that in mind when using it. I started…
The only thing we changed was the ADetailer Prompt. We used “tropical rain forest, bokeh blur” with the ‘person_yolov8s-seg.pt’ model. This will create a beautiful tropical background for our image.
This technique may cause some parts of the outfits to be different than the others, but that’s okay since we’re provided with tiles of each of these images. You can use them to overlap the bad spots in Photoshop. These tiled image and the final generated image should be available to you in your designated >Image to Image folder.


We will use ADetailer Img2Img and ControlNet to upscale the image we just generated. Here are the steps to do this:
Drag and drop the image into Img2Img .
Enable ControlNet from its dropdown menu.
You don’t need a ControlNet reference.
The image in the Img2Img tab is the reference for all ControlNet units, unless you upload another image.
Choose your preferred Control Type.
I like to use SoftEdge because it gives a softer edge lighting.
Turn on a second ControlNet Unit and use Tile.
This helps to restore the original color and details of the image.

To upscale the image we just generated, we will use Img2Img and ControlNet.
Under the ‘Script’ dropdown menu, select ‘SD Upscale’ or ‘Ultimate SD Upscaler’
Select 4xUltra Sharp
Change the Scale Factor to 2 or higher.

SD and 4xUltrasharp Upscale in Automatic1111 Return to the ADetailer and expand the menu.
- In this step, you can experiment with the ADetailer settings that we learned in the previous tutorial.
- Remember that each image has a different detection confidence, so you need to adjust it accordingly when you use ADetailer. I find that using your main prompts and negative prompts helps to get better results when you use img2img with ControlNet and ADetailer.
- First tab: I kept it simple when I upscaled with ADetailer. I only used the ‘face-yolov8s’ model with the same prompt as before:
‘purple shiny lipstick, eye shadows’. - Second tab: I added ‘Green eyes’ to the ADetailer Prompt and used the ‘mediapipe_face_mesh_eyes_only’ model.
You don’t need to change much else, unless you want to add more details.
The importance of Denoising Strength when Upscaling
The Denoising Strength is a key factor for upscaling your image. I saved this part for last because I want you to experiment with it and see the different results. With ControlNet on, the changes are less subtle at a setting higher than 0.4, so they will affect your image. I suggest setting it between 0.2 and 0.4. Re-generate a few times and compare the outputs, but also play with a setting of 1.0 to see what you get from it.
This pretty much wraps up my ADetailer series. If you have any questions or requests, please ask them below and I’ll do my best to answer them. Thank you for reading!
Check out this [comprehensive guide] on how to upscale your images the best way.


Leave a Reply